
Cambered Axle
A couple of pretty big steps forward this week! Since our hub failure at Nationals, we decided to make some changes to the rear axle not only to fix the hub, but also to hopefully build in some options to start experimenting with tires. The new Hoosier and Goodyear Radials that GT-1 is running now appear to be a good option for autocrossing and with Goodyear phasing out the bias-ply tires that we like so much, the time has come to give the radials a shot.
One part of this is the radial tires require more camber than a bias-ply tire. Our old axle was “cambered” in that the top of the housing had been welded to bow the axle tubes up. This resulted in a little less than a degree of camber, just about right for bias-plys, but not enough for radials.

In order to accomplish this, based on Ron Ver Mulm’s recommendation, we stepped up to use cambered snouts from Tiger Rear Ends. These are great pieces and give us the option to change camber and toe if we ever decide too! The website is a little misleading… all of the parts say they are for a quick-change, but just about any axle with 3″ tubes can use their cambered snouts.
Kurt Janish did a fantastic job installing the new snouts getting the axle all put back together. Between the fancy paint job and the marks on the end to denote which position we’re in, couldn’t have asked for a better job! Thanks Kurt!

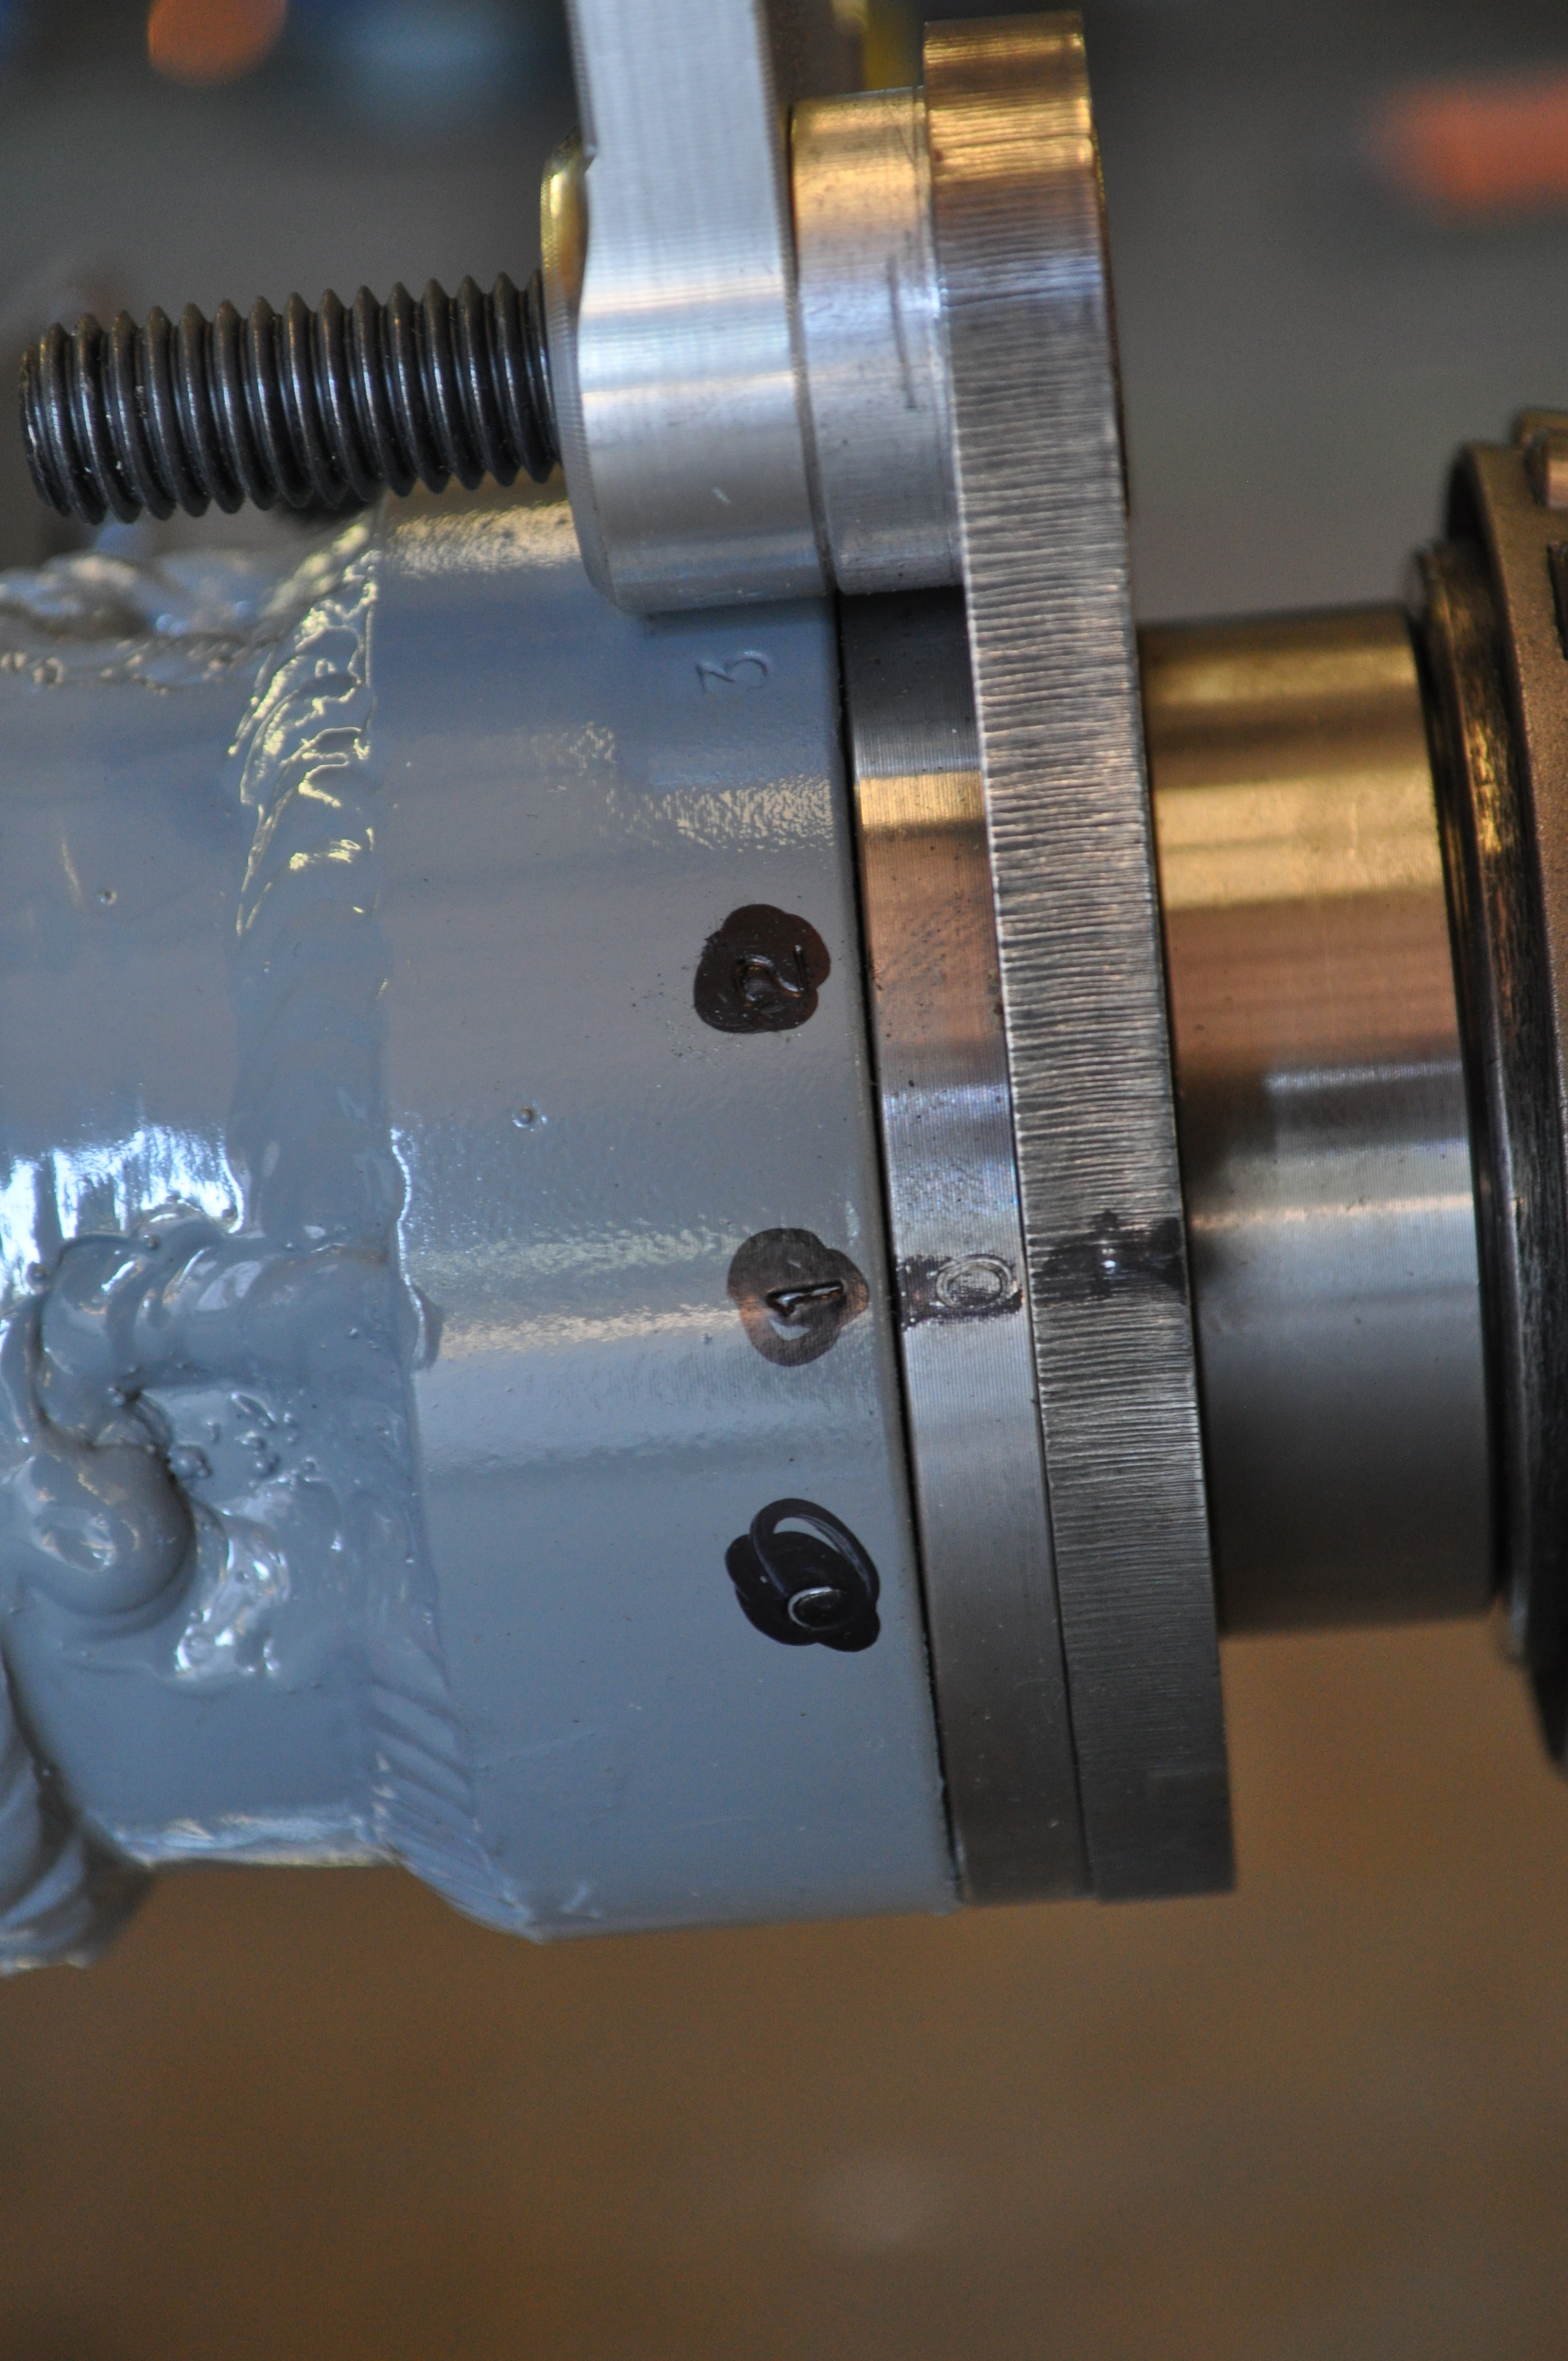
Straight as an arrow!

We do have 2 things we still need to do on the axle. First is to either modify the existing caliper adapter plate or get a new one made. If you look at the steel part in the picture above, you’ll note that the center hole is offset to one side. The way the calipers are mounted on a Tiger rear end is front on one side and back on the other. We can’t do this since the calipers would interfere with the shocks. Unfortunately Tiger doesn’t make another plate, so it’ll be up to us to correct this. Haven’t decided what to do yet, but probably a little machine work is in order. The second is to decide what to do on the caliper side. The plates that the snouts come with are for Wilwood Superlite calipers, but the calipers we have been running at Dynalites. The bolt pattern is different, so we can’t reuse the calipers unless we get new plates made up. I have to get a set quoted and then we’ll decide where to go from here…

Here’s a shot with the new hubs mounted up. These are from Howe and they are pretty sweet!
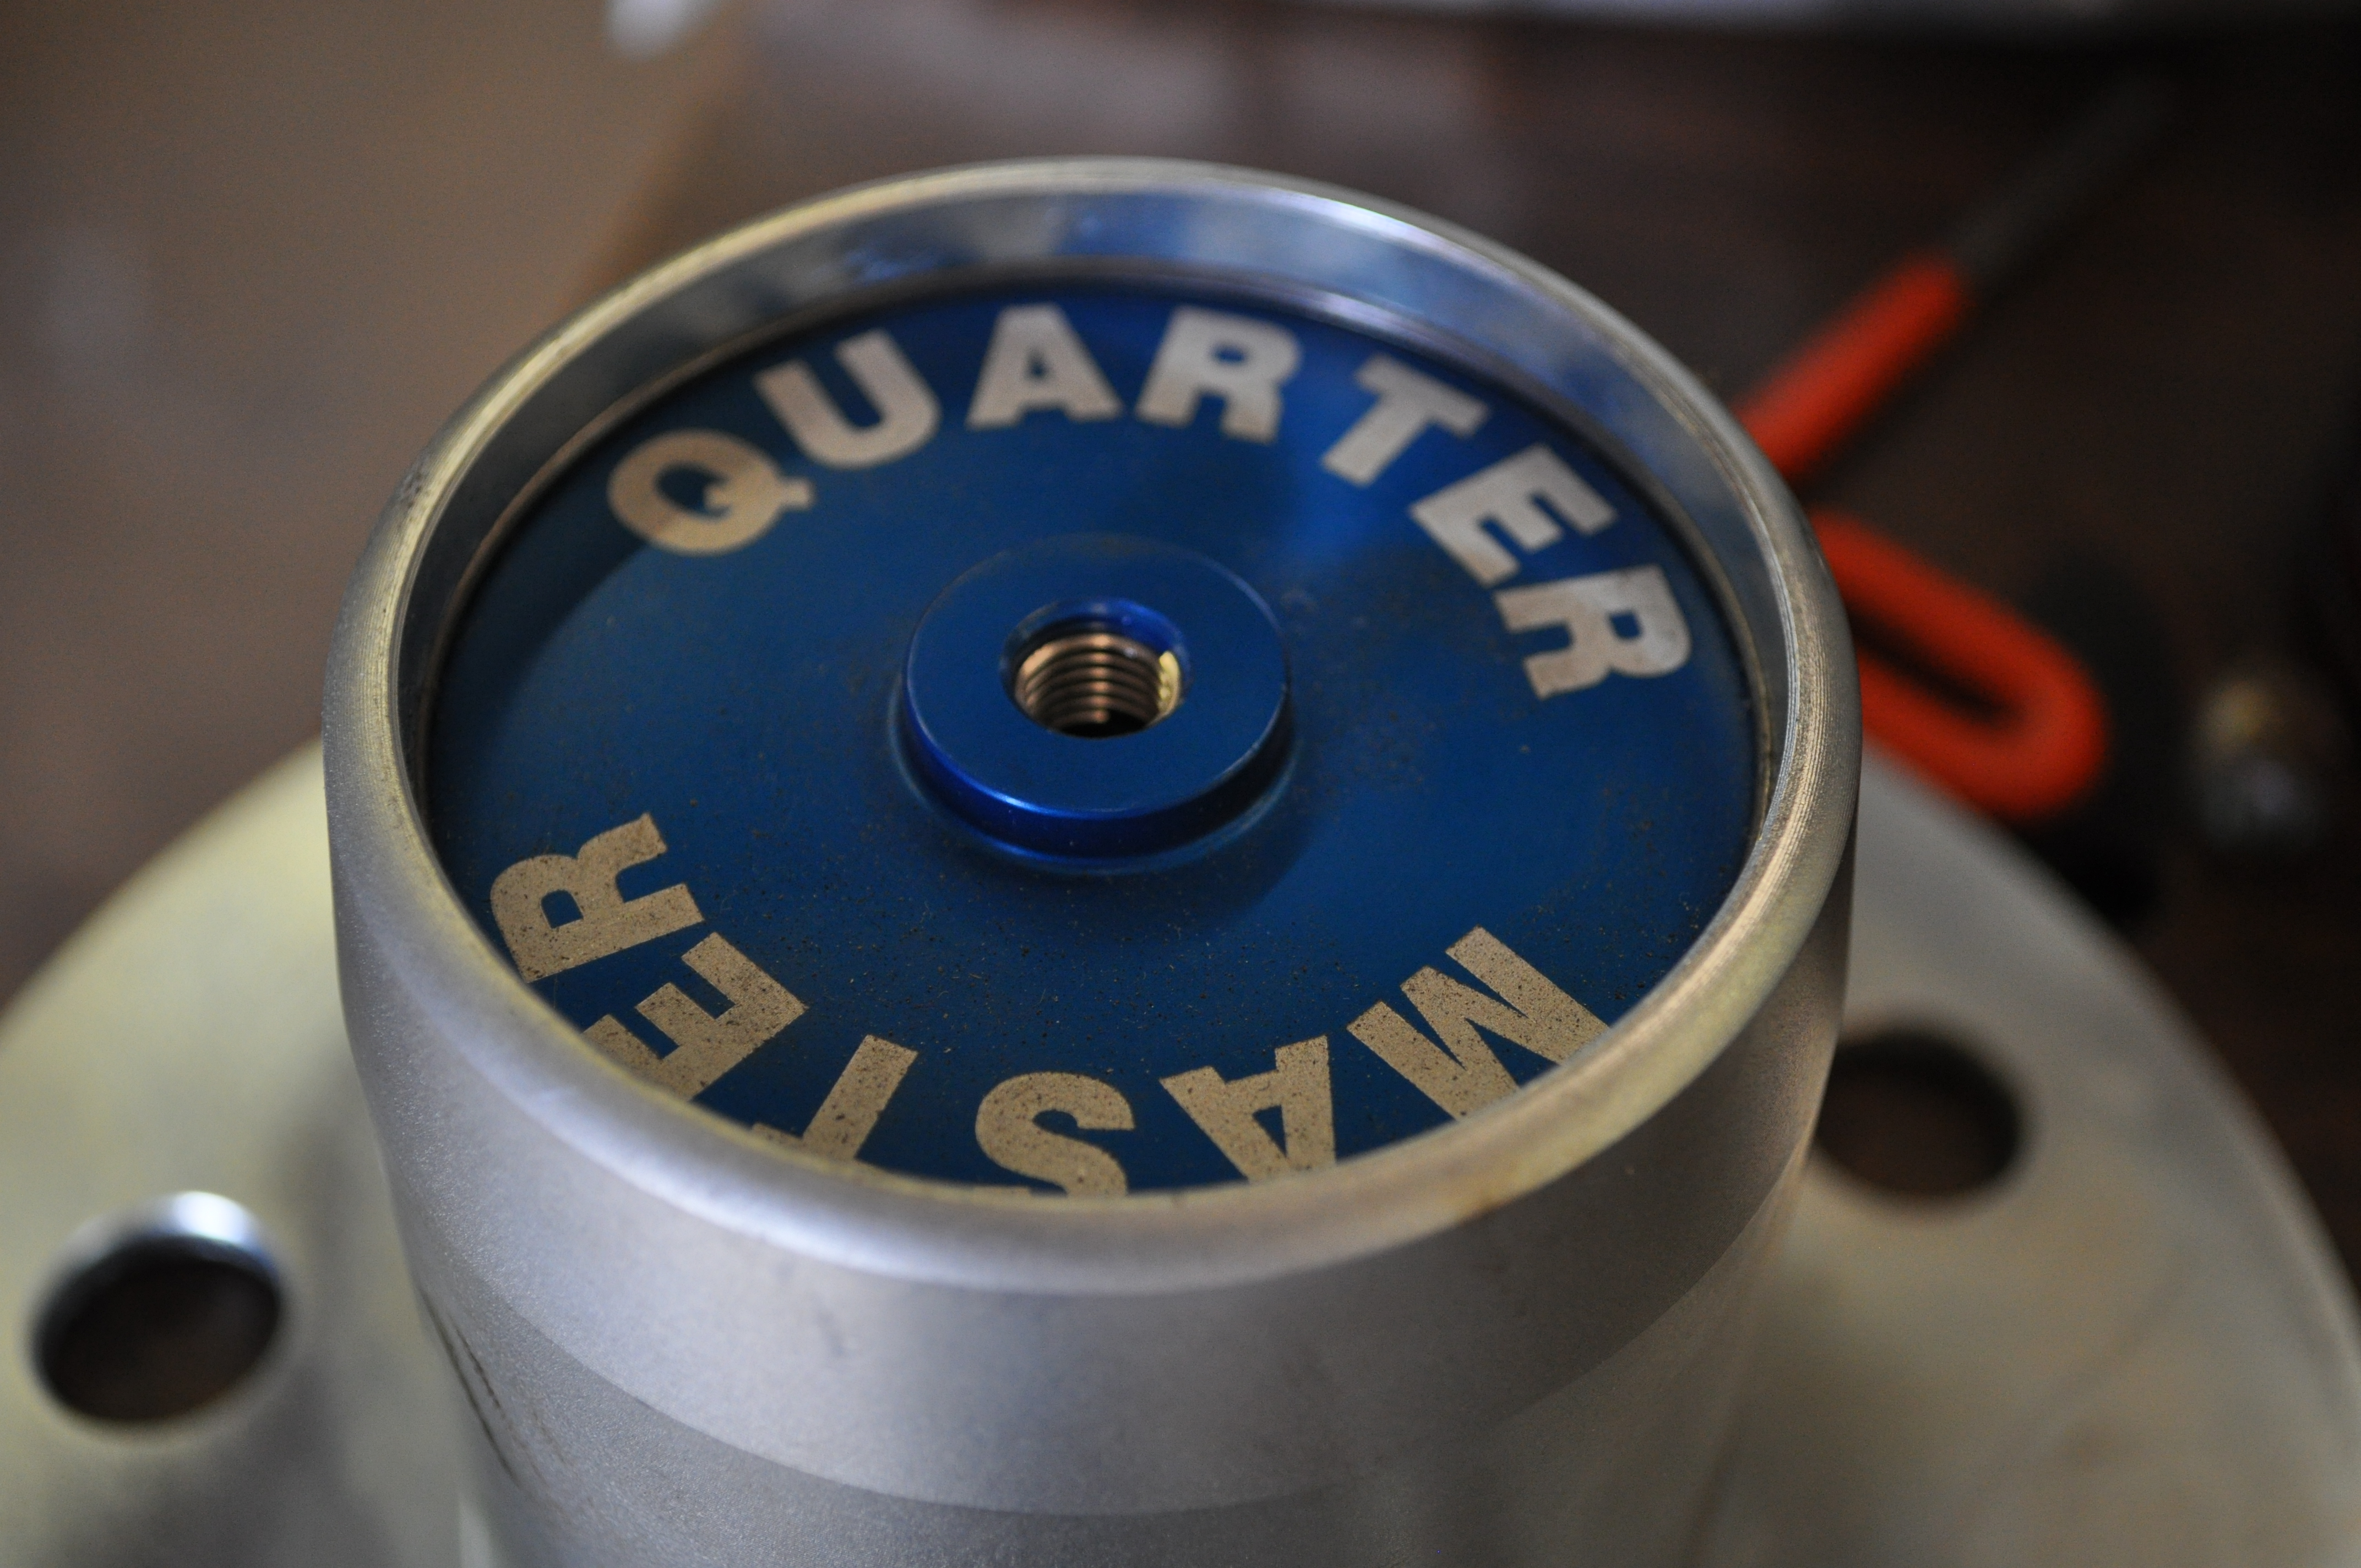
New drive flanges are from Quarter Master. Really nice pieces, but pricey!
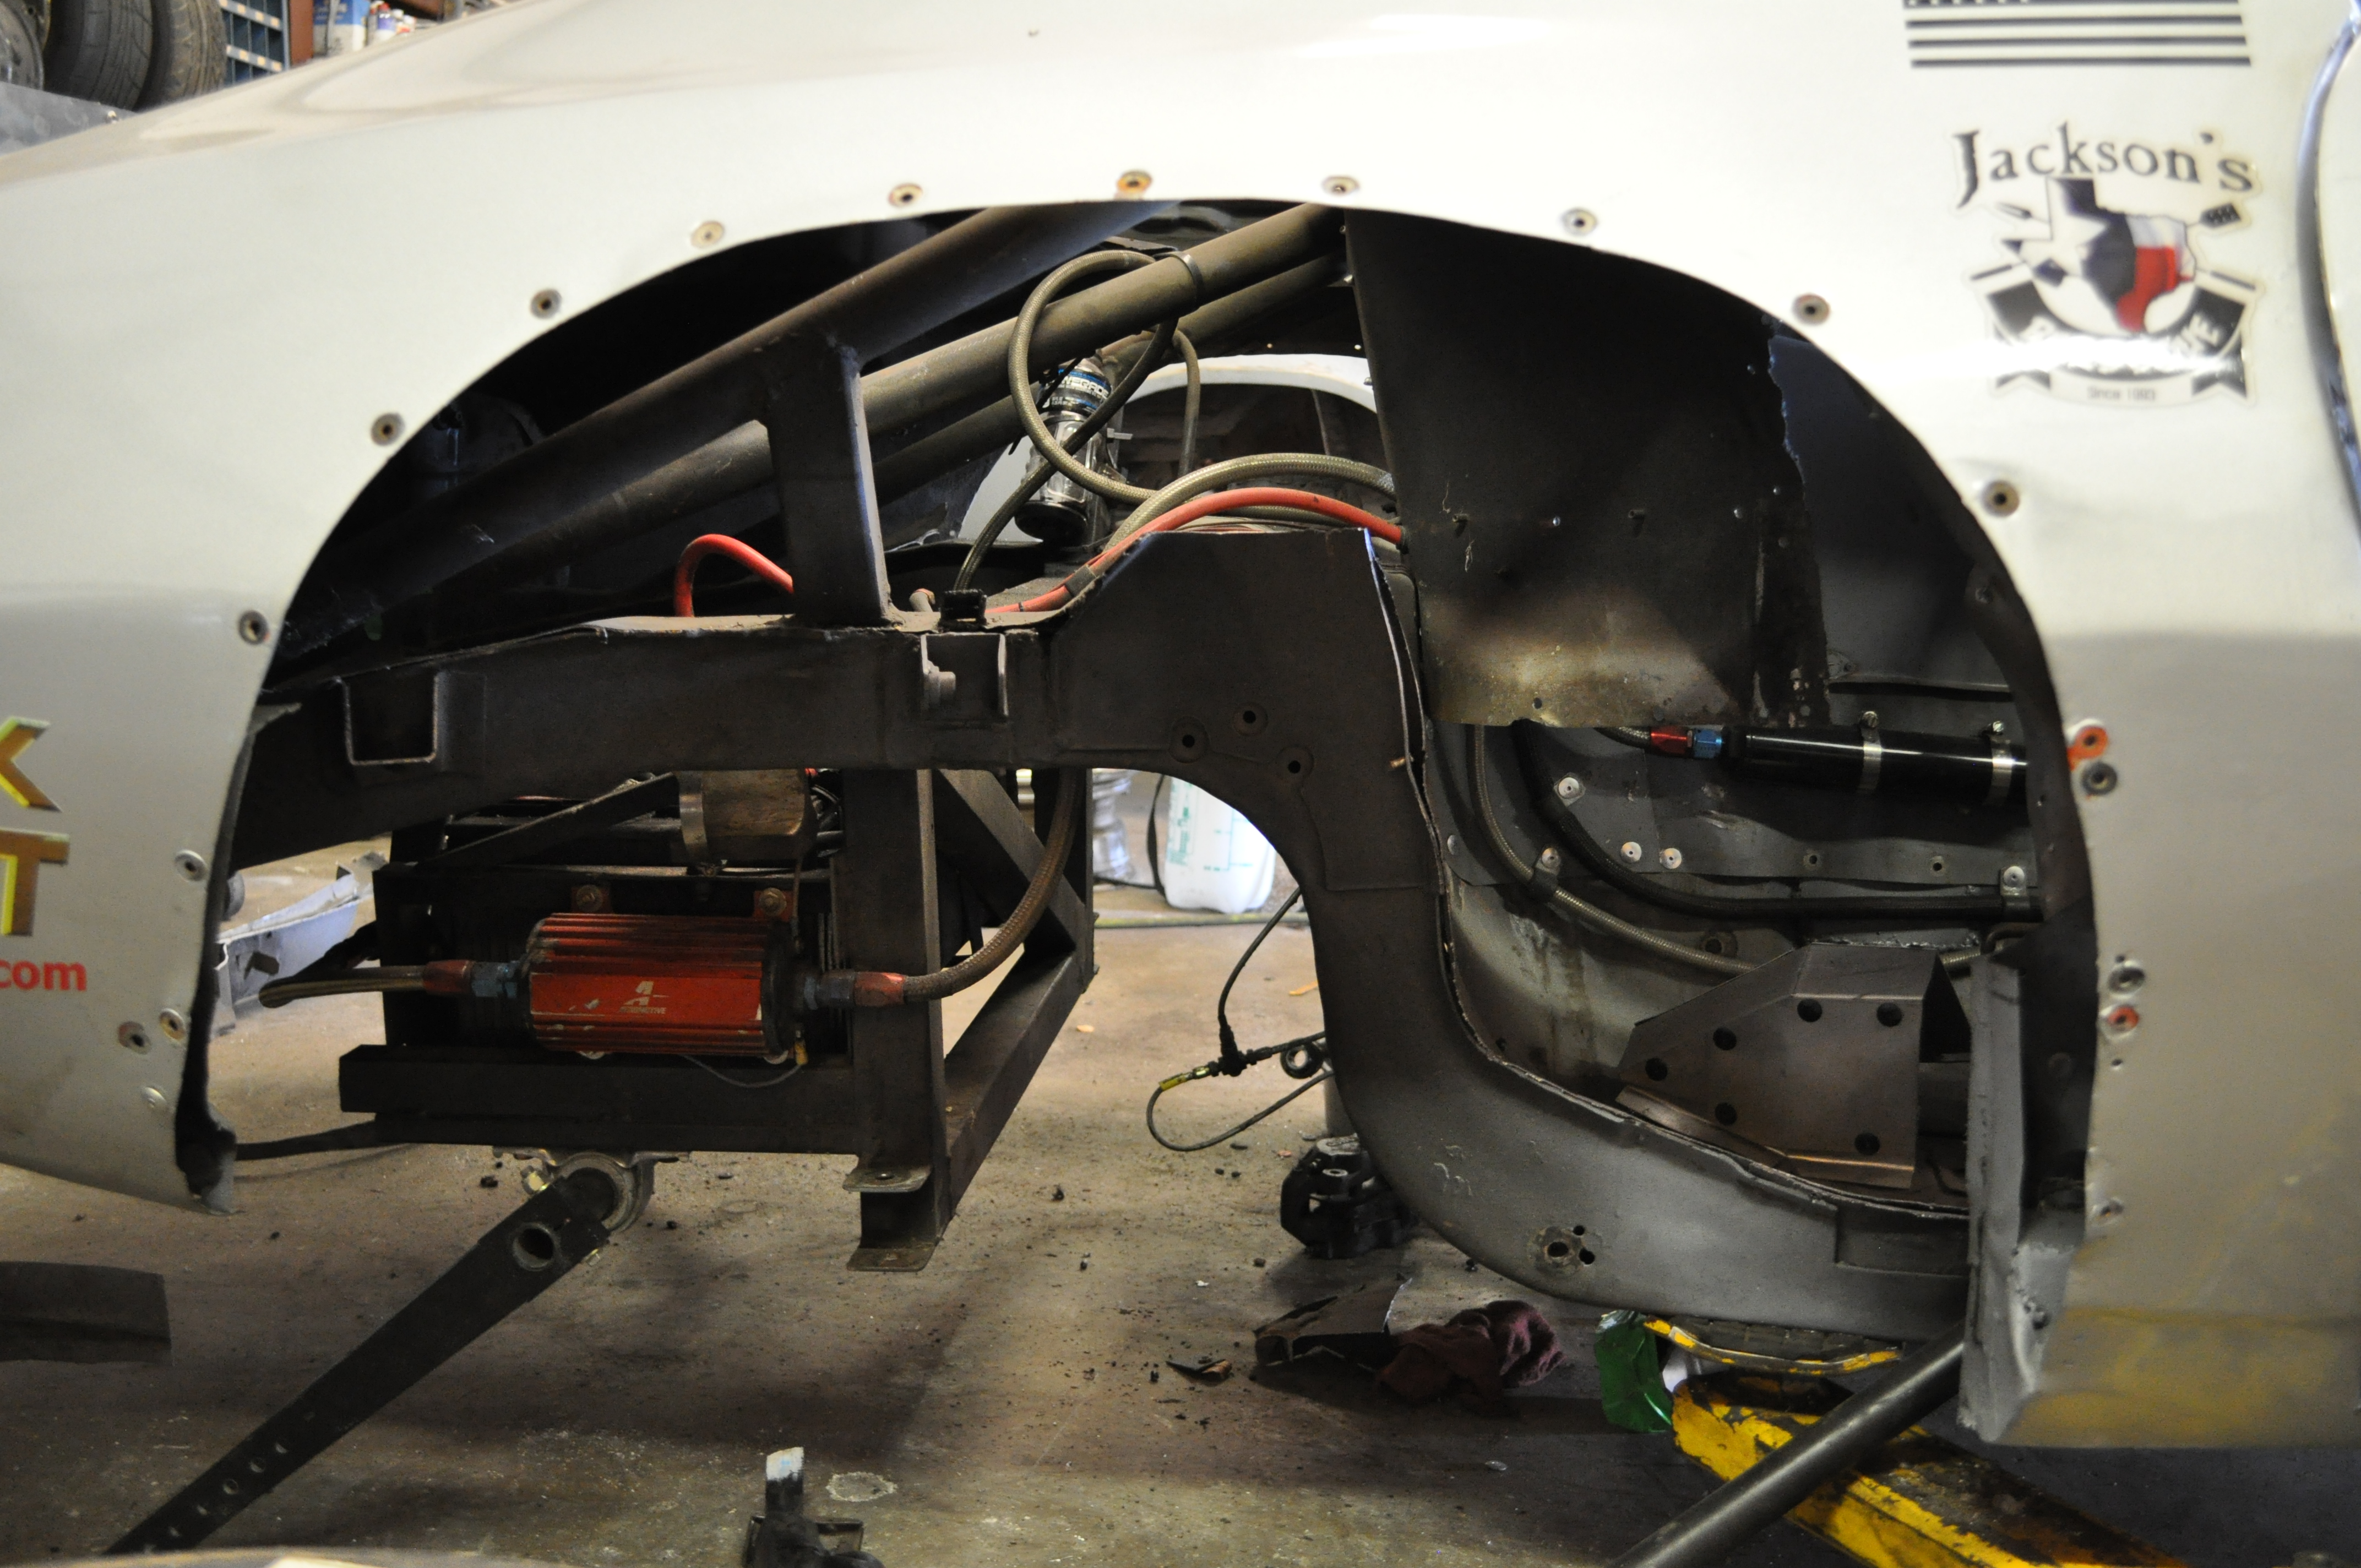
In order to accommodate the new radials which are taller than the bias-plys, we decided to finally put in proper tubs in the car. This starts with removing the old wheel well, but leaving the frame rails since that isn’t allowed by the CP ruleset.

Next, cut a cardboard template to fit and transfer to steel.

Essential tools of the trade. Don’t forget to wear gloves, I didn’t at first and my hands have the cuts to prove it!

After you get the inside trimmed and fitted, you do the same for the top with a piece of cardboard. This leads to an interesting profile to fit the inside of the fender!
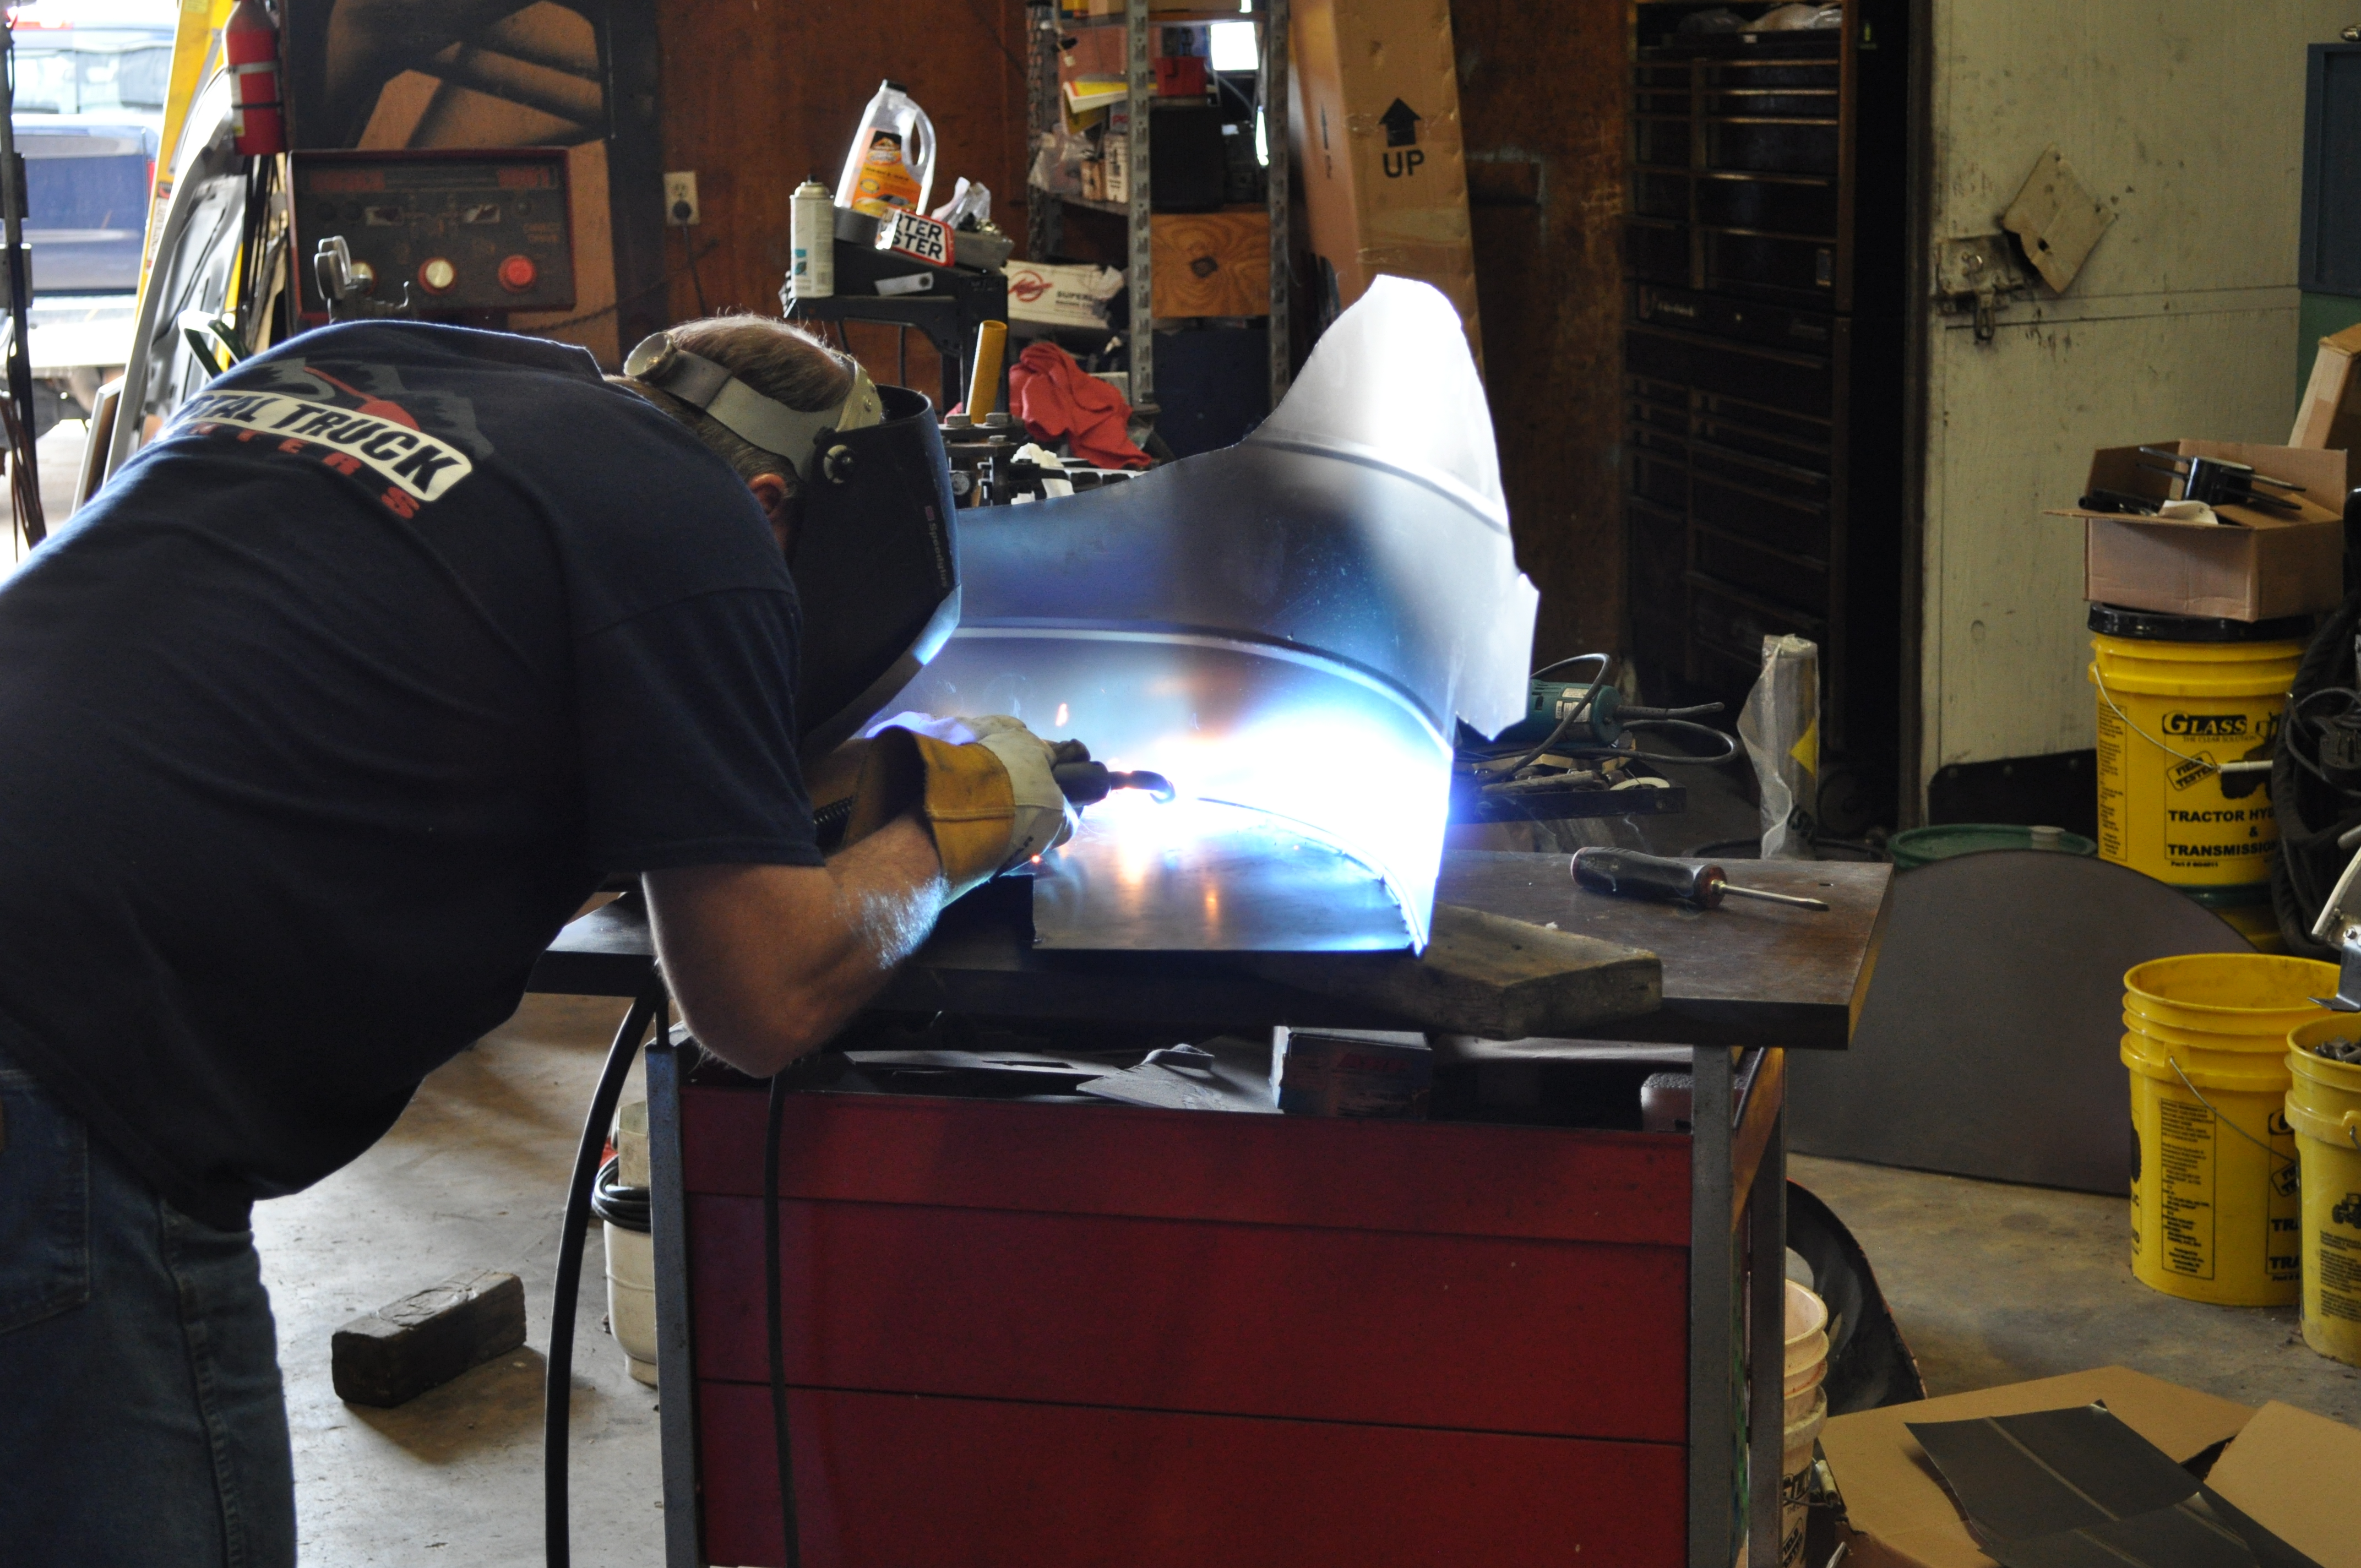
The outer portion and the inner piece are fit together. There’s a little lip between the two while gets hammered to hold them together, but we chose to spot well them together for more strength.
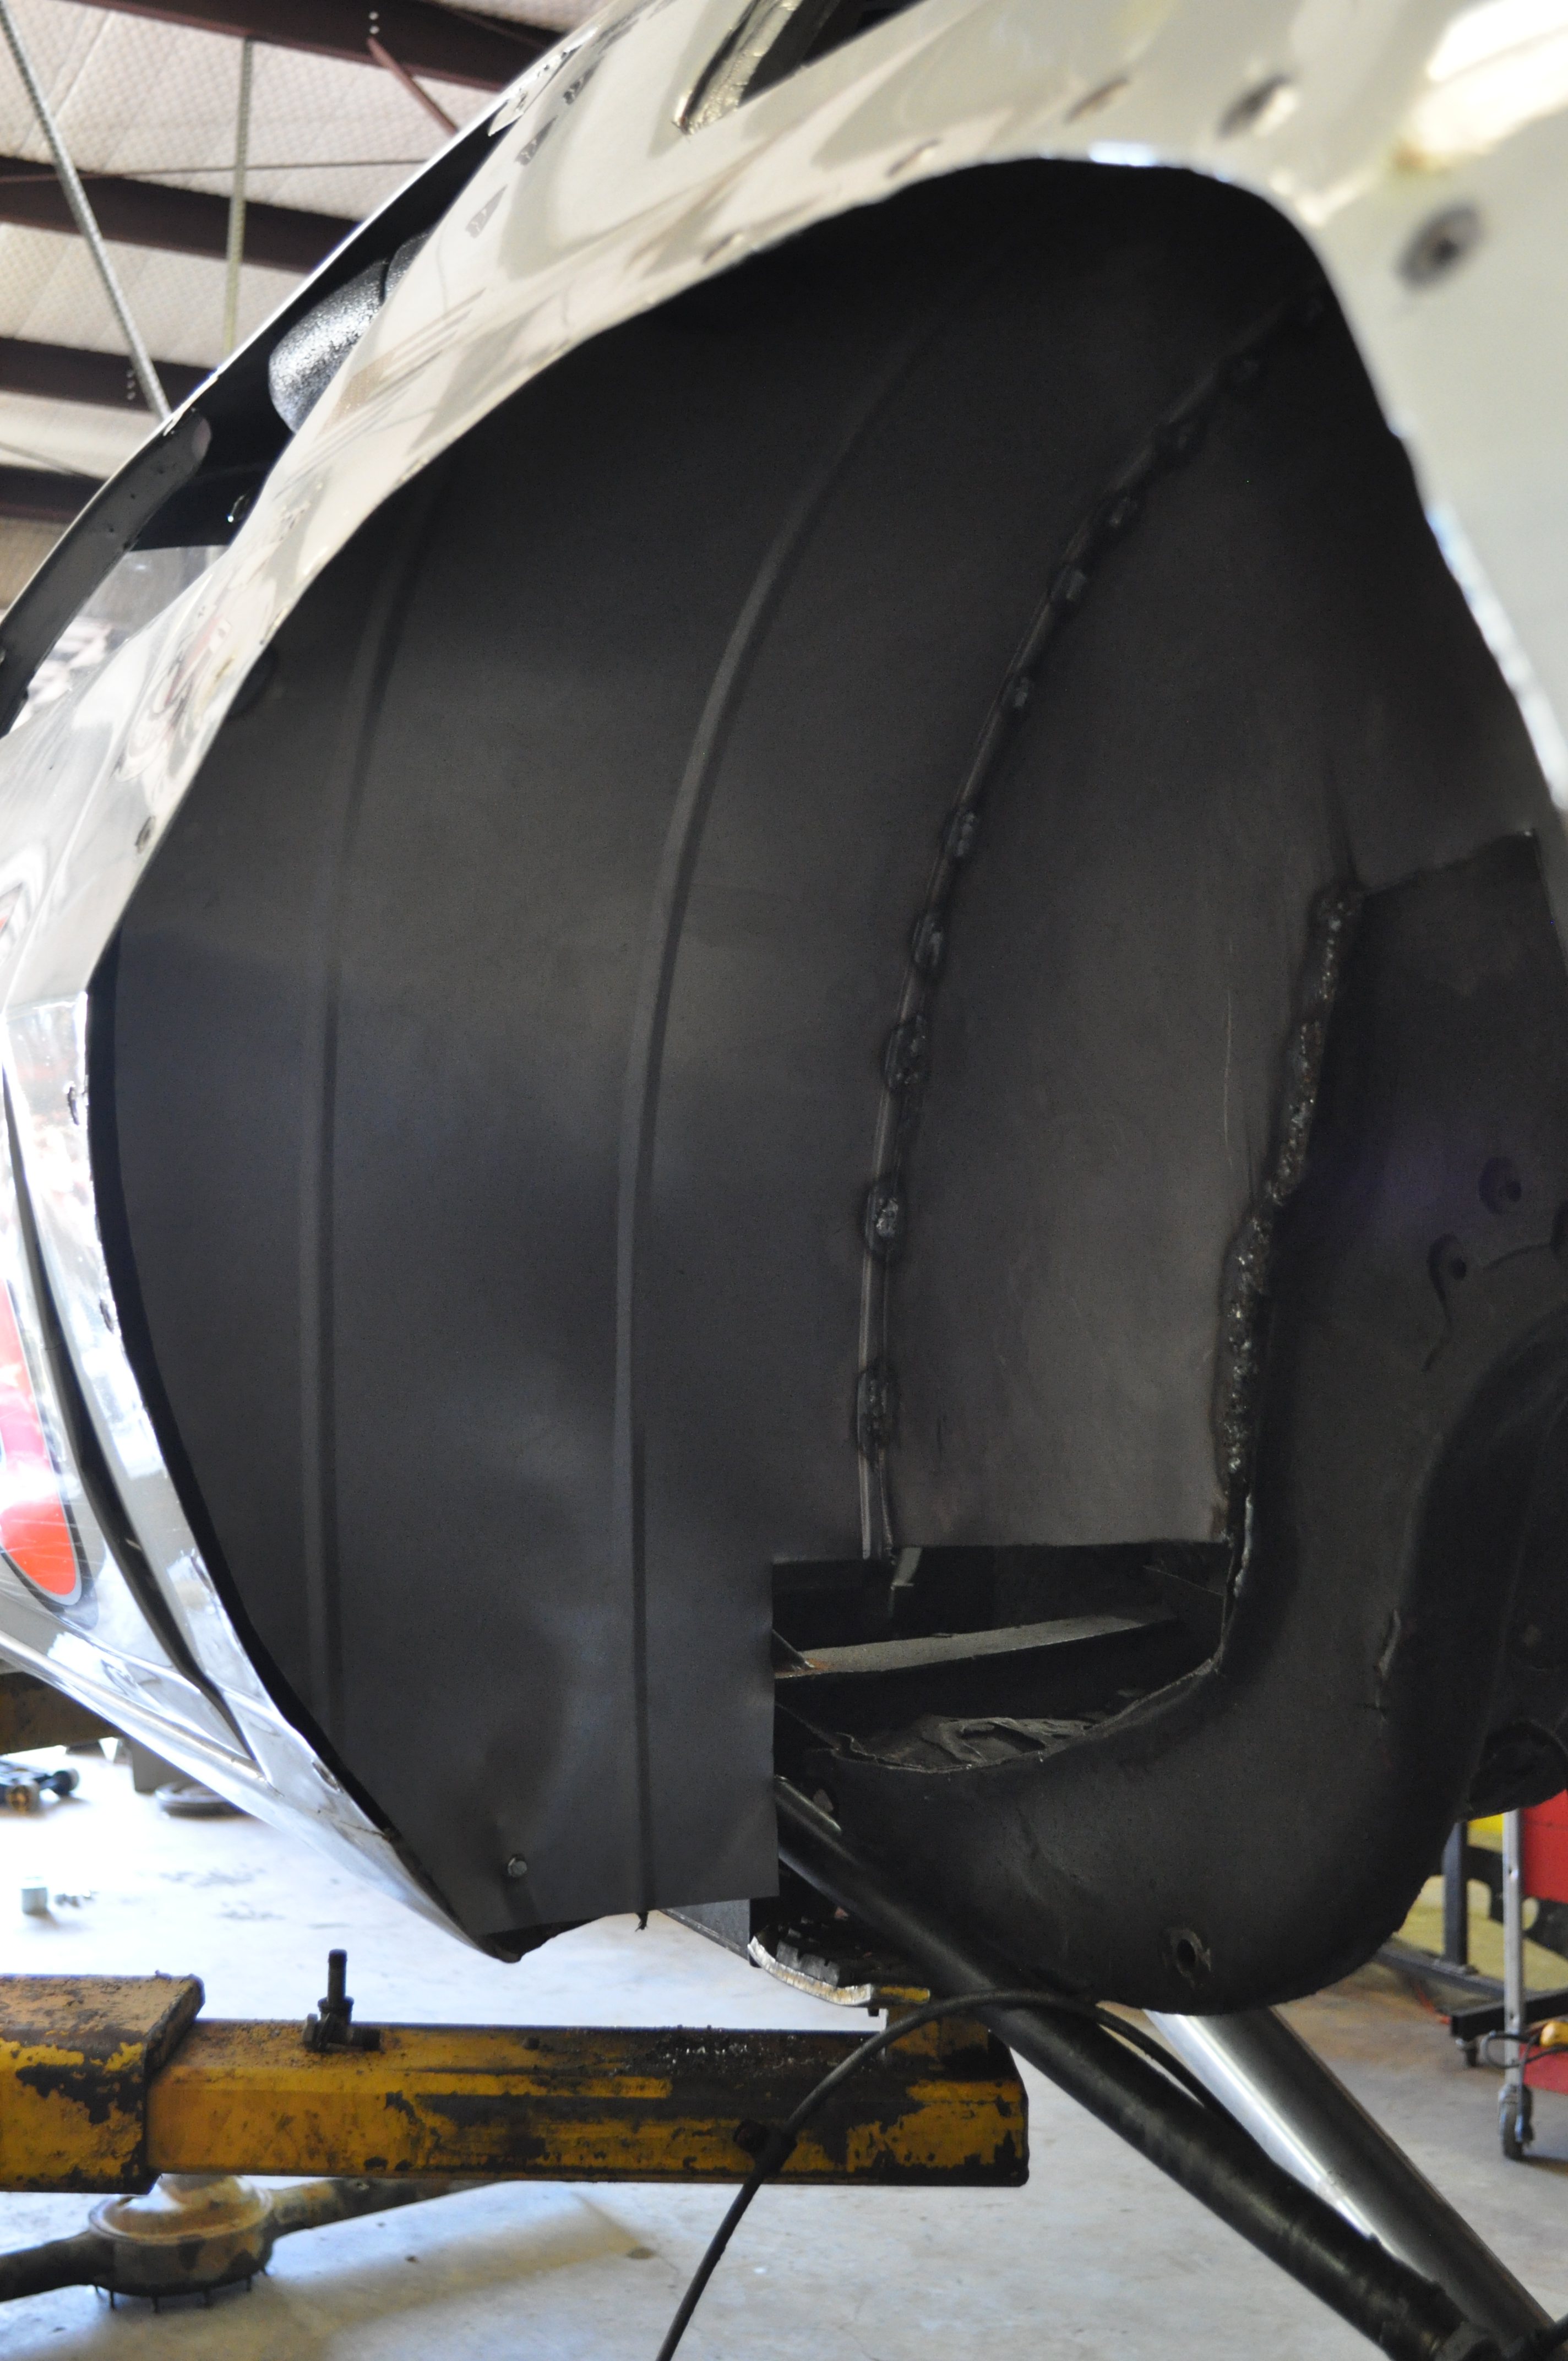
Once assembled, the piece gets put inside the fender and gets attached wherever you can to the body and chassis. The fit you get that is perfect in cardboard likely is going to have some gaps when you transfer to steel since it isn’t nearly as flexible as the cardboard is.

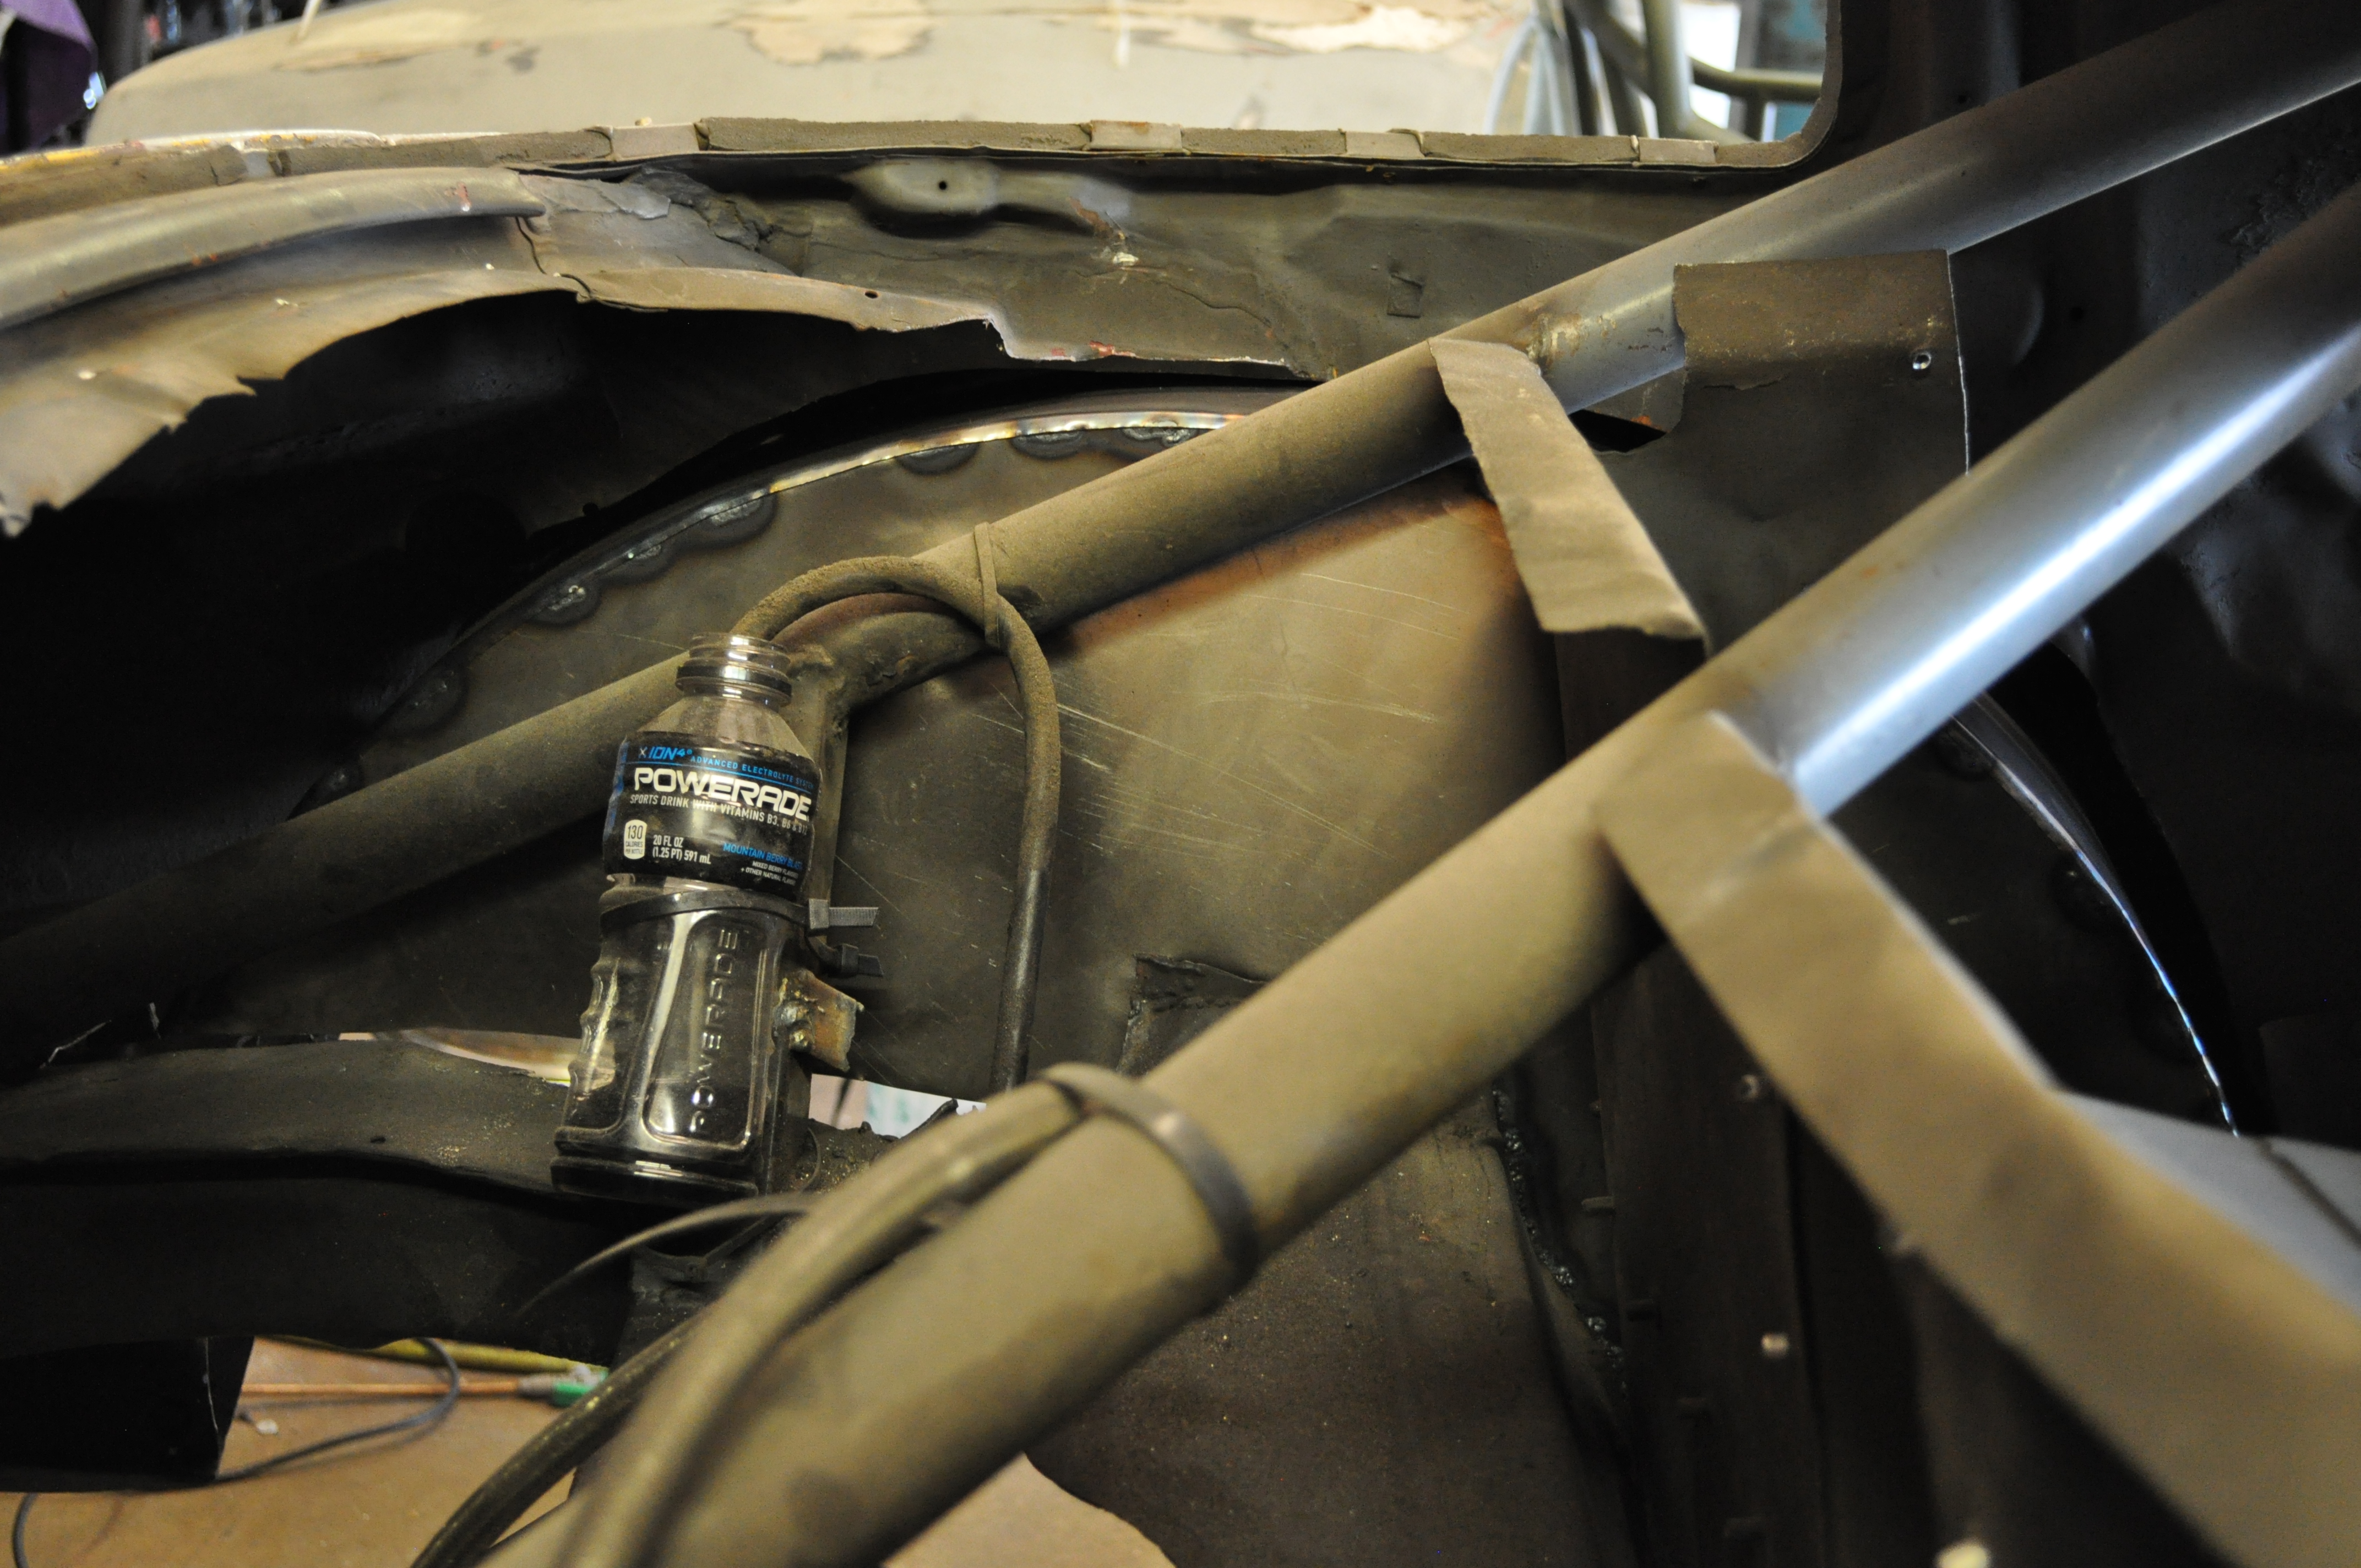
It does mess up your paint though… We were in the market for new flares anyways, no choice but to do that now!
It’s a snug fit!! All in all, the tubs weren’t as bad as I thought they’d be. Took about 6 hours to get them trimmed, welded and tacked into place. Filling up some of the gaps will take a bit longer, but for a days worth of work getting them in, they weren’t too bad.
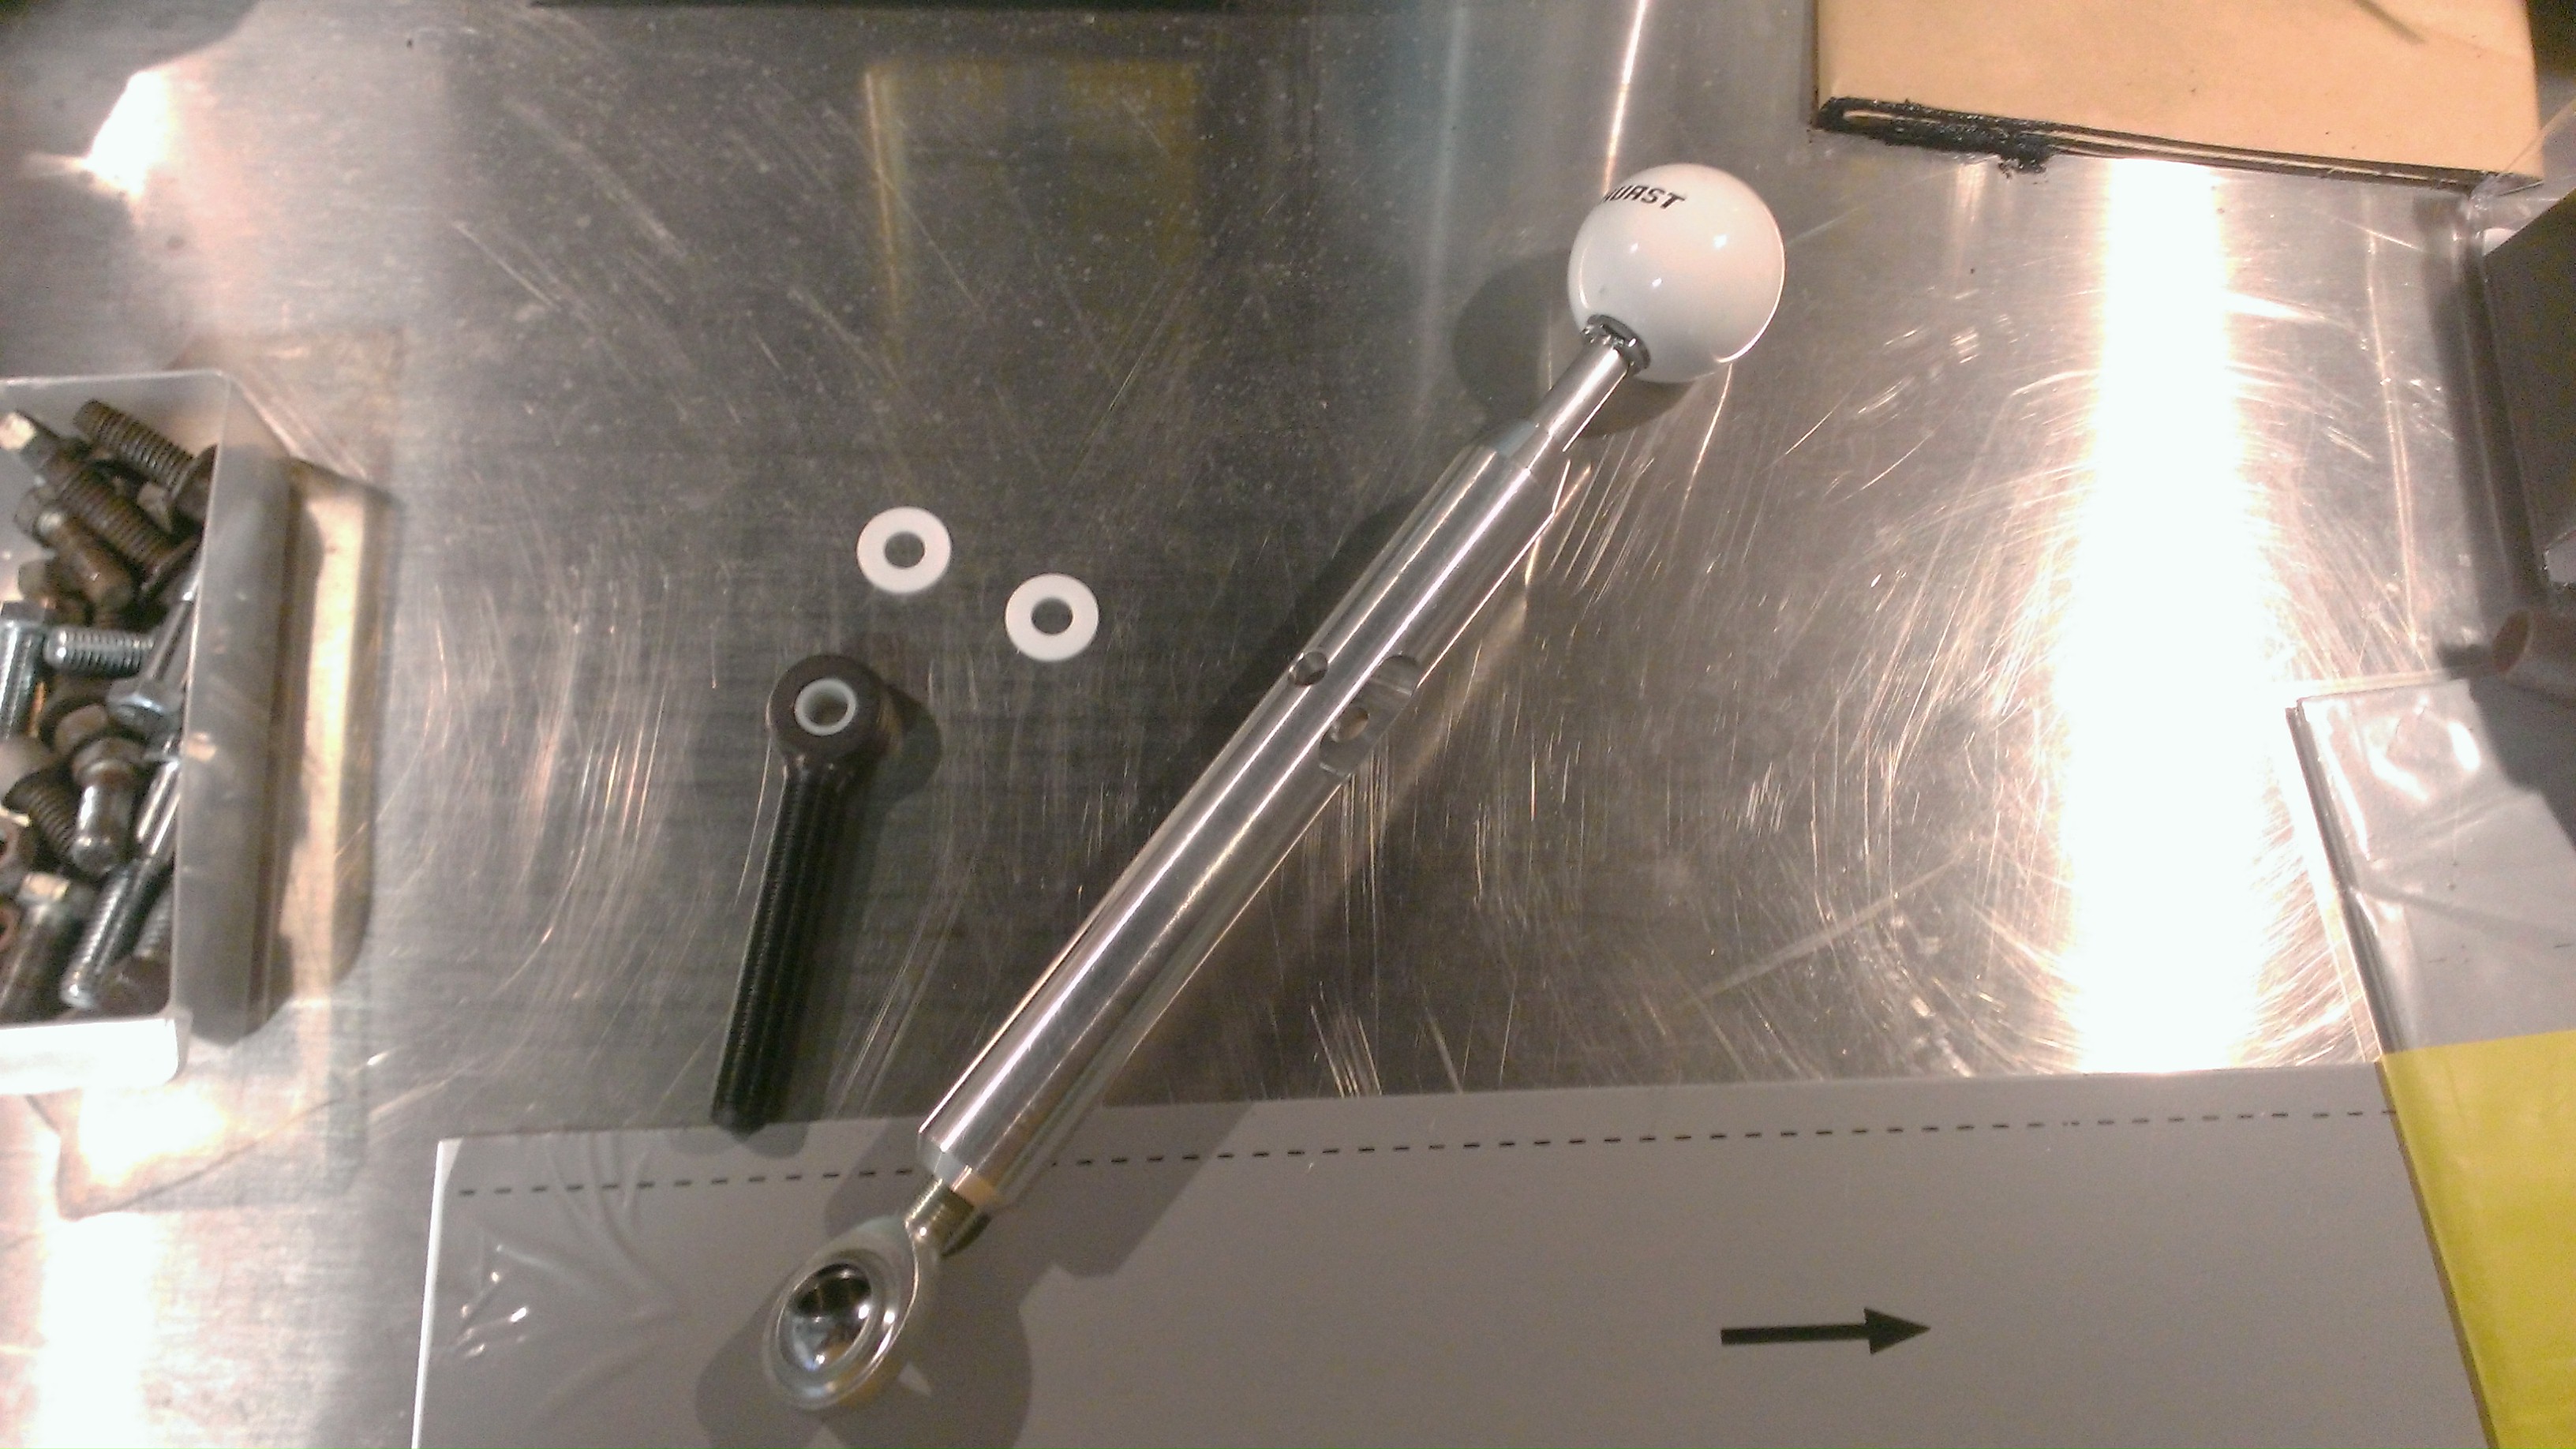
Here’s a preview of the next little project, our remote shifter parts have all come in. Next weekend will hopefully get to start assembling the rest of the car!
 Red Line Oil

Pingback: Feeling Tubby and 3D Scanning Disappointment | Oversteer Garage
Pingback: 2014 – A Year Behind the Wheel and Behind the Lens | Oversteer Garage
Pingback: Cambered Axle – Part 2 | Oversteer Garage