
It’s April Already? Splitter, Goodyear Radials, and National Tour testing!
Wow, time flies when you aren’t racing! After a slow start to the year with only one event in the bag, we finally got to do some dry weather racing. With the College Station leg of the SCCA’s Championship Tour coming up, we had to get some testing in. In the run-up to that though, I wanted to cross another project off our to-do list and that was installing a CP legal front splitter.
Per the rules, you can install a front splitter, but it cannot extend past the shadow of the front bumper, nor can it extend rearward past the front of the wheel well. Thanks to some excellent advice from Neil Roberts of Think Fast Engineering and author of Think Fast Book we had some good tips to start with.
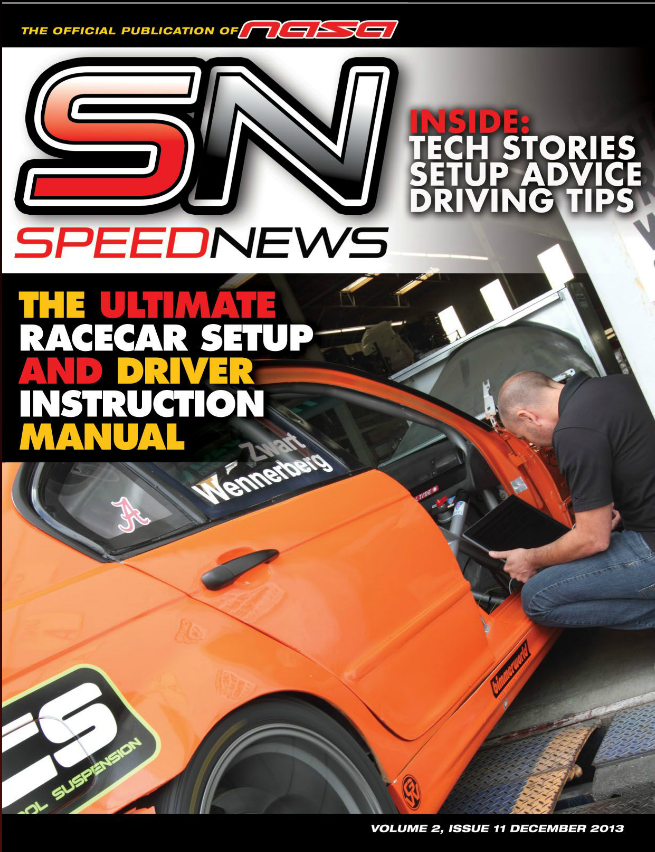
Neil often writes for NASA’s Speed News magazine. December 2013’s issue has some great aero tips. While we didn’t follow everything to the letter (more on that in a minute), the article has some good guidance to getting started.
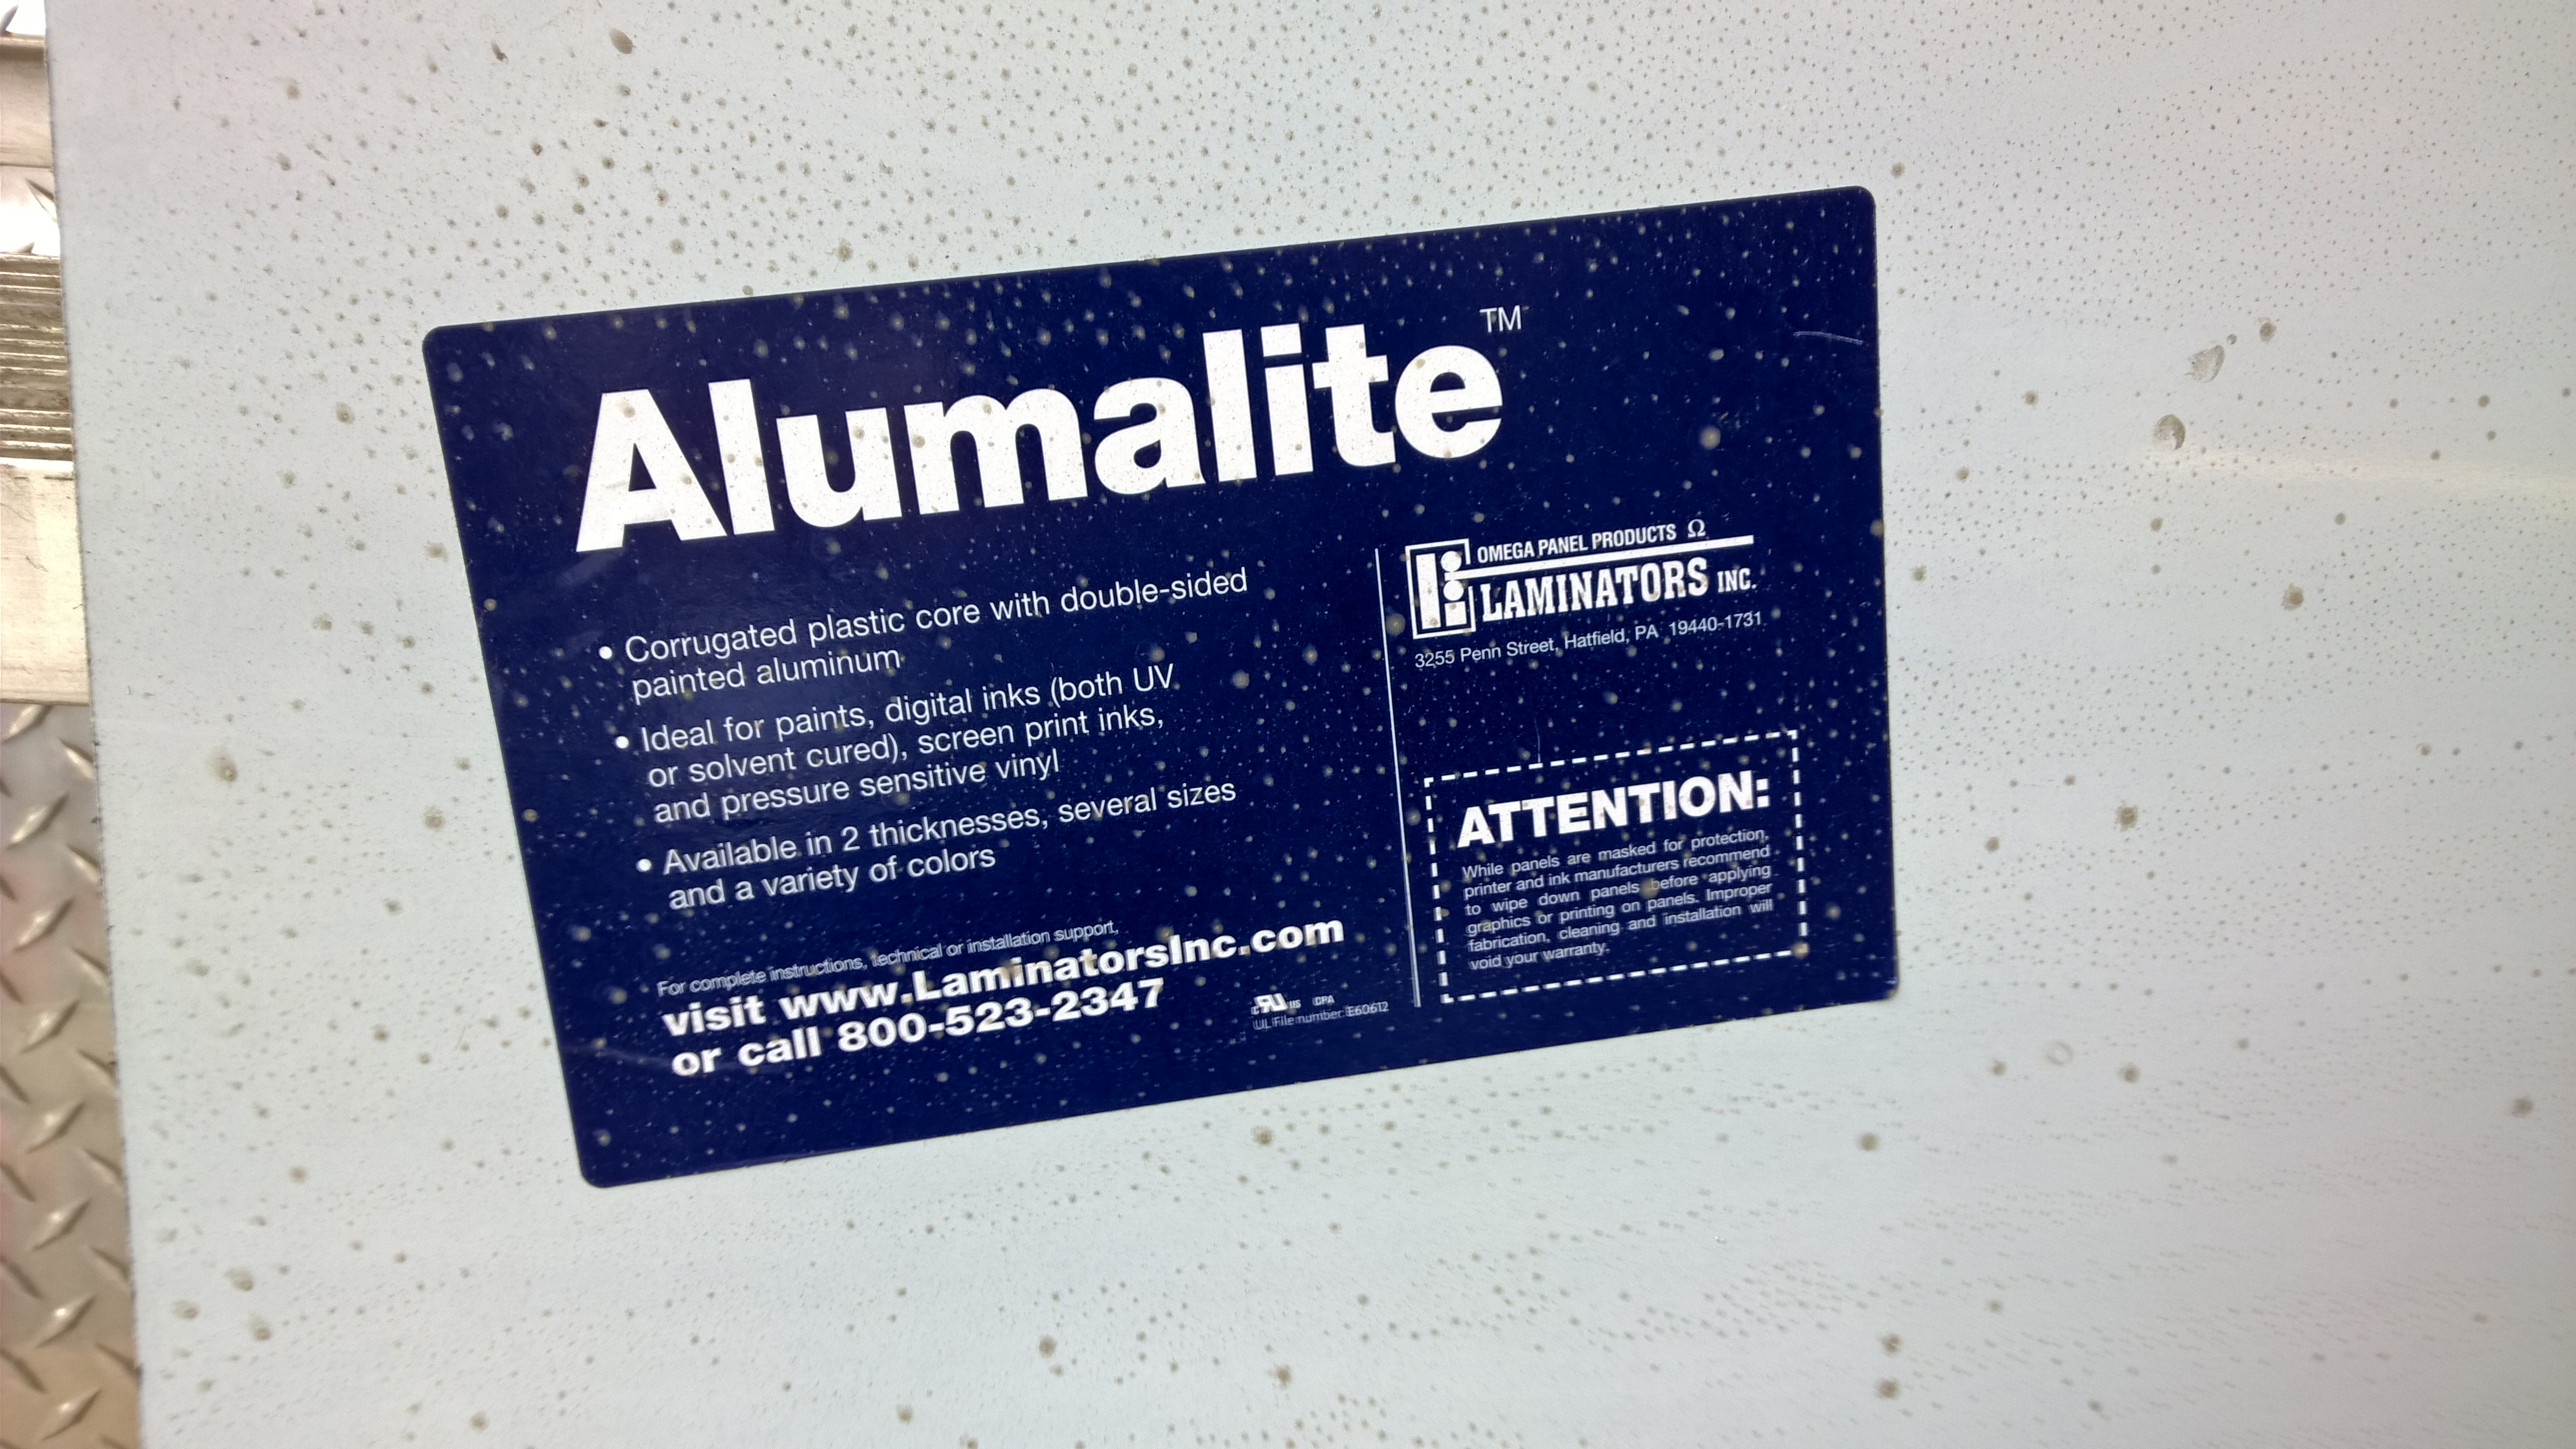
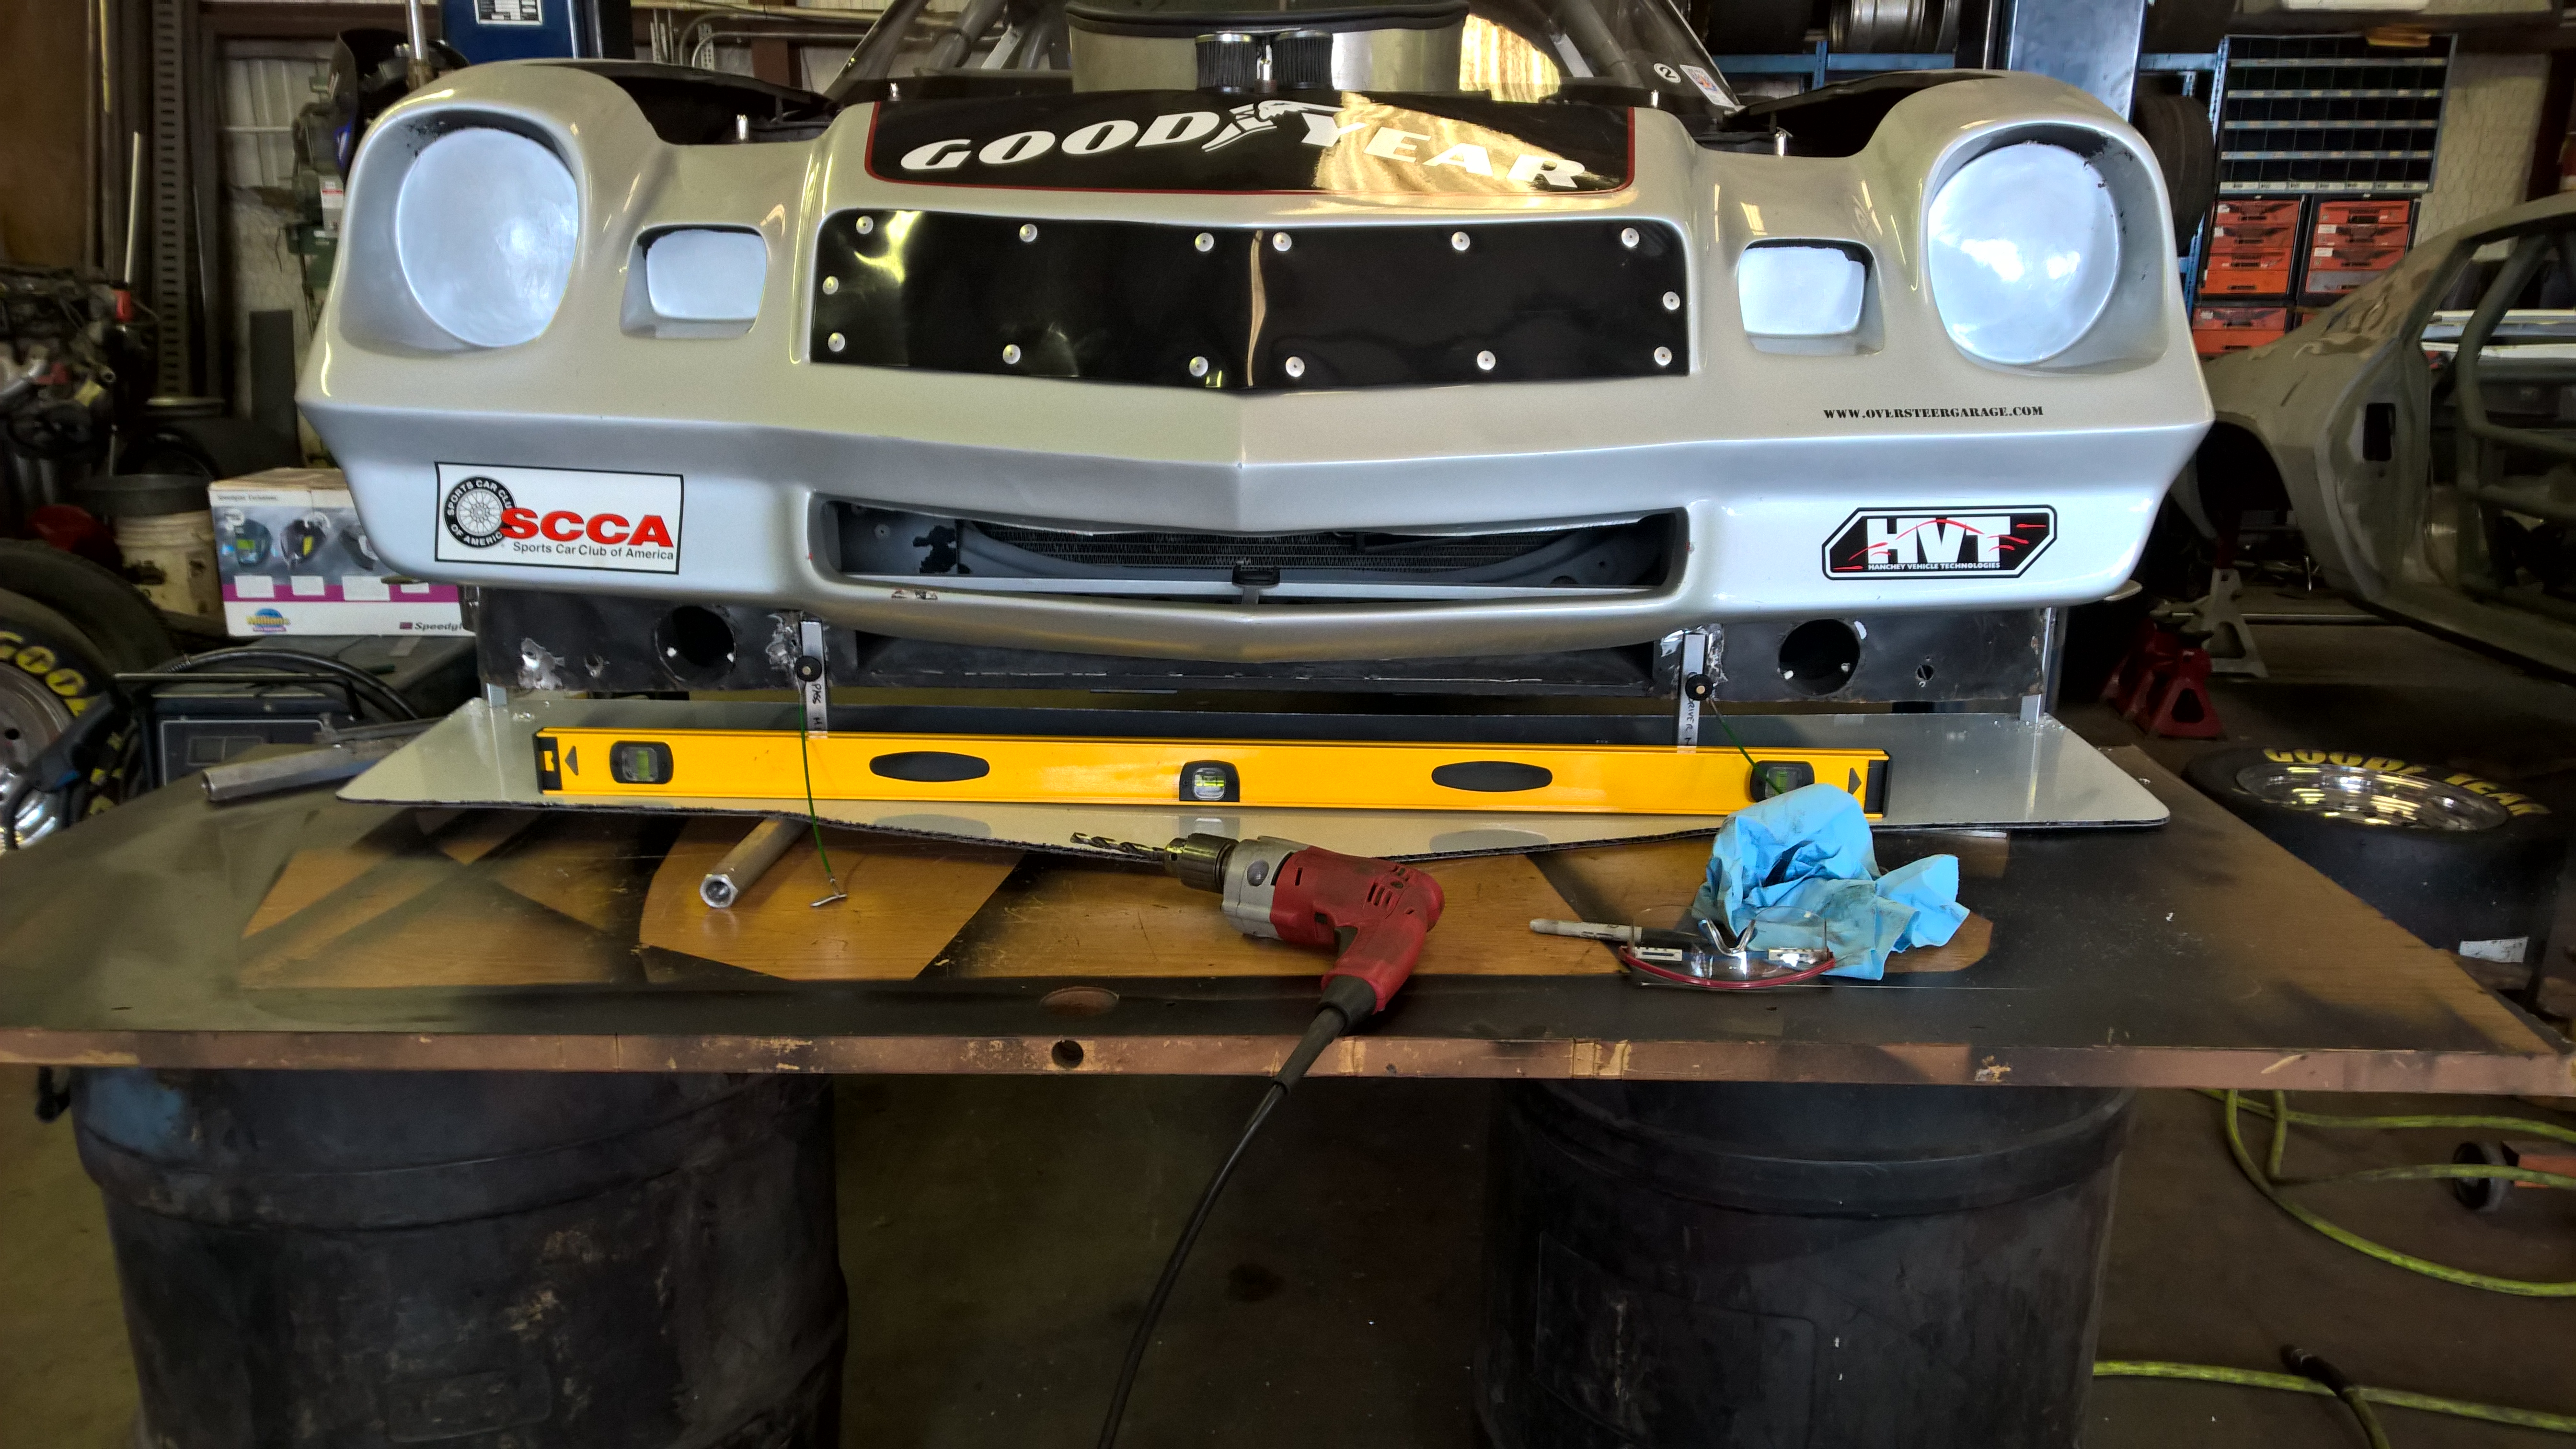
Starting with the right material is important. Being located on the nose, the material has to be light, but also relatively stiff. I chose Alumalite since it satisfies both criteria, only downside is that it’s pretty expensive with a 4′ x 8′ sheet running over $200. It’s also a little hard to track down, but I was able to get some locally (in black no less!) from some friends at the sign shop Sign Guys!
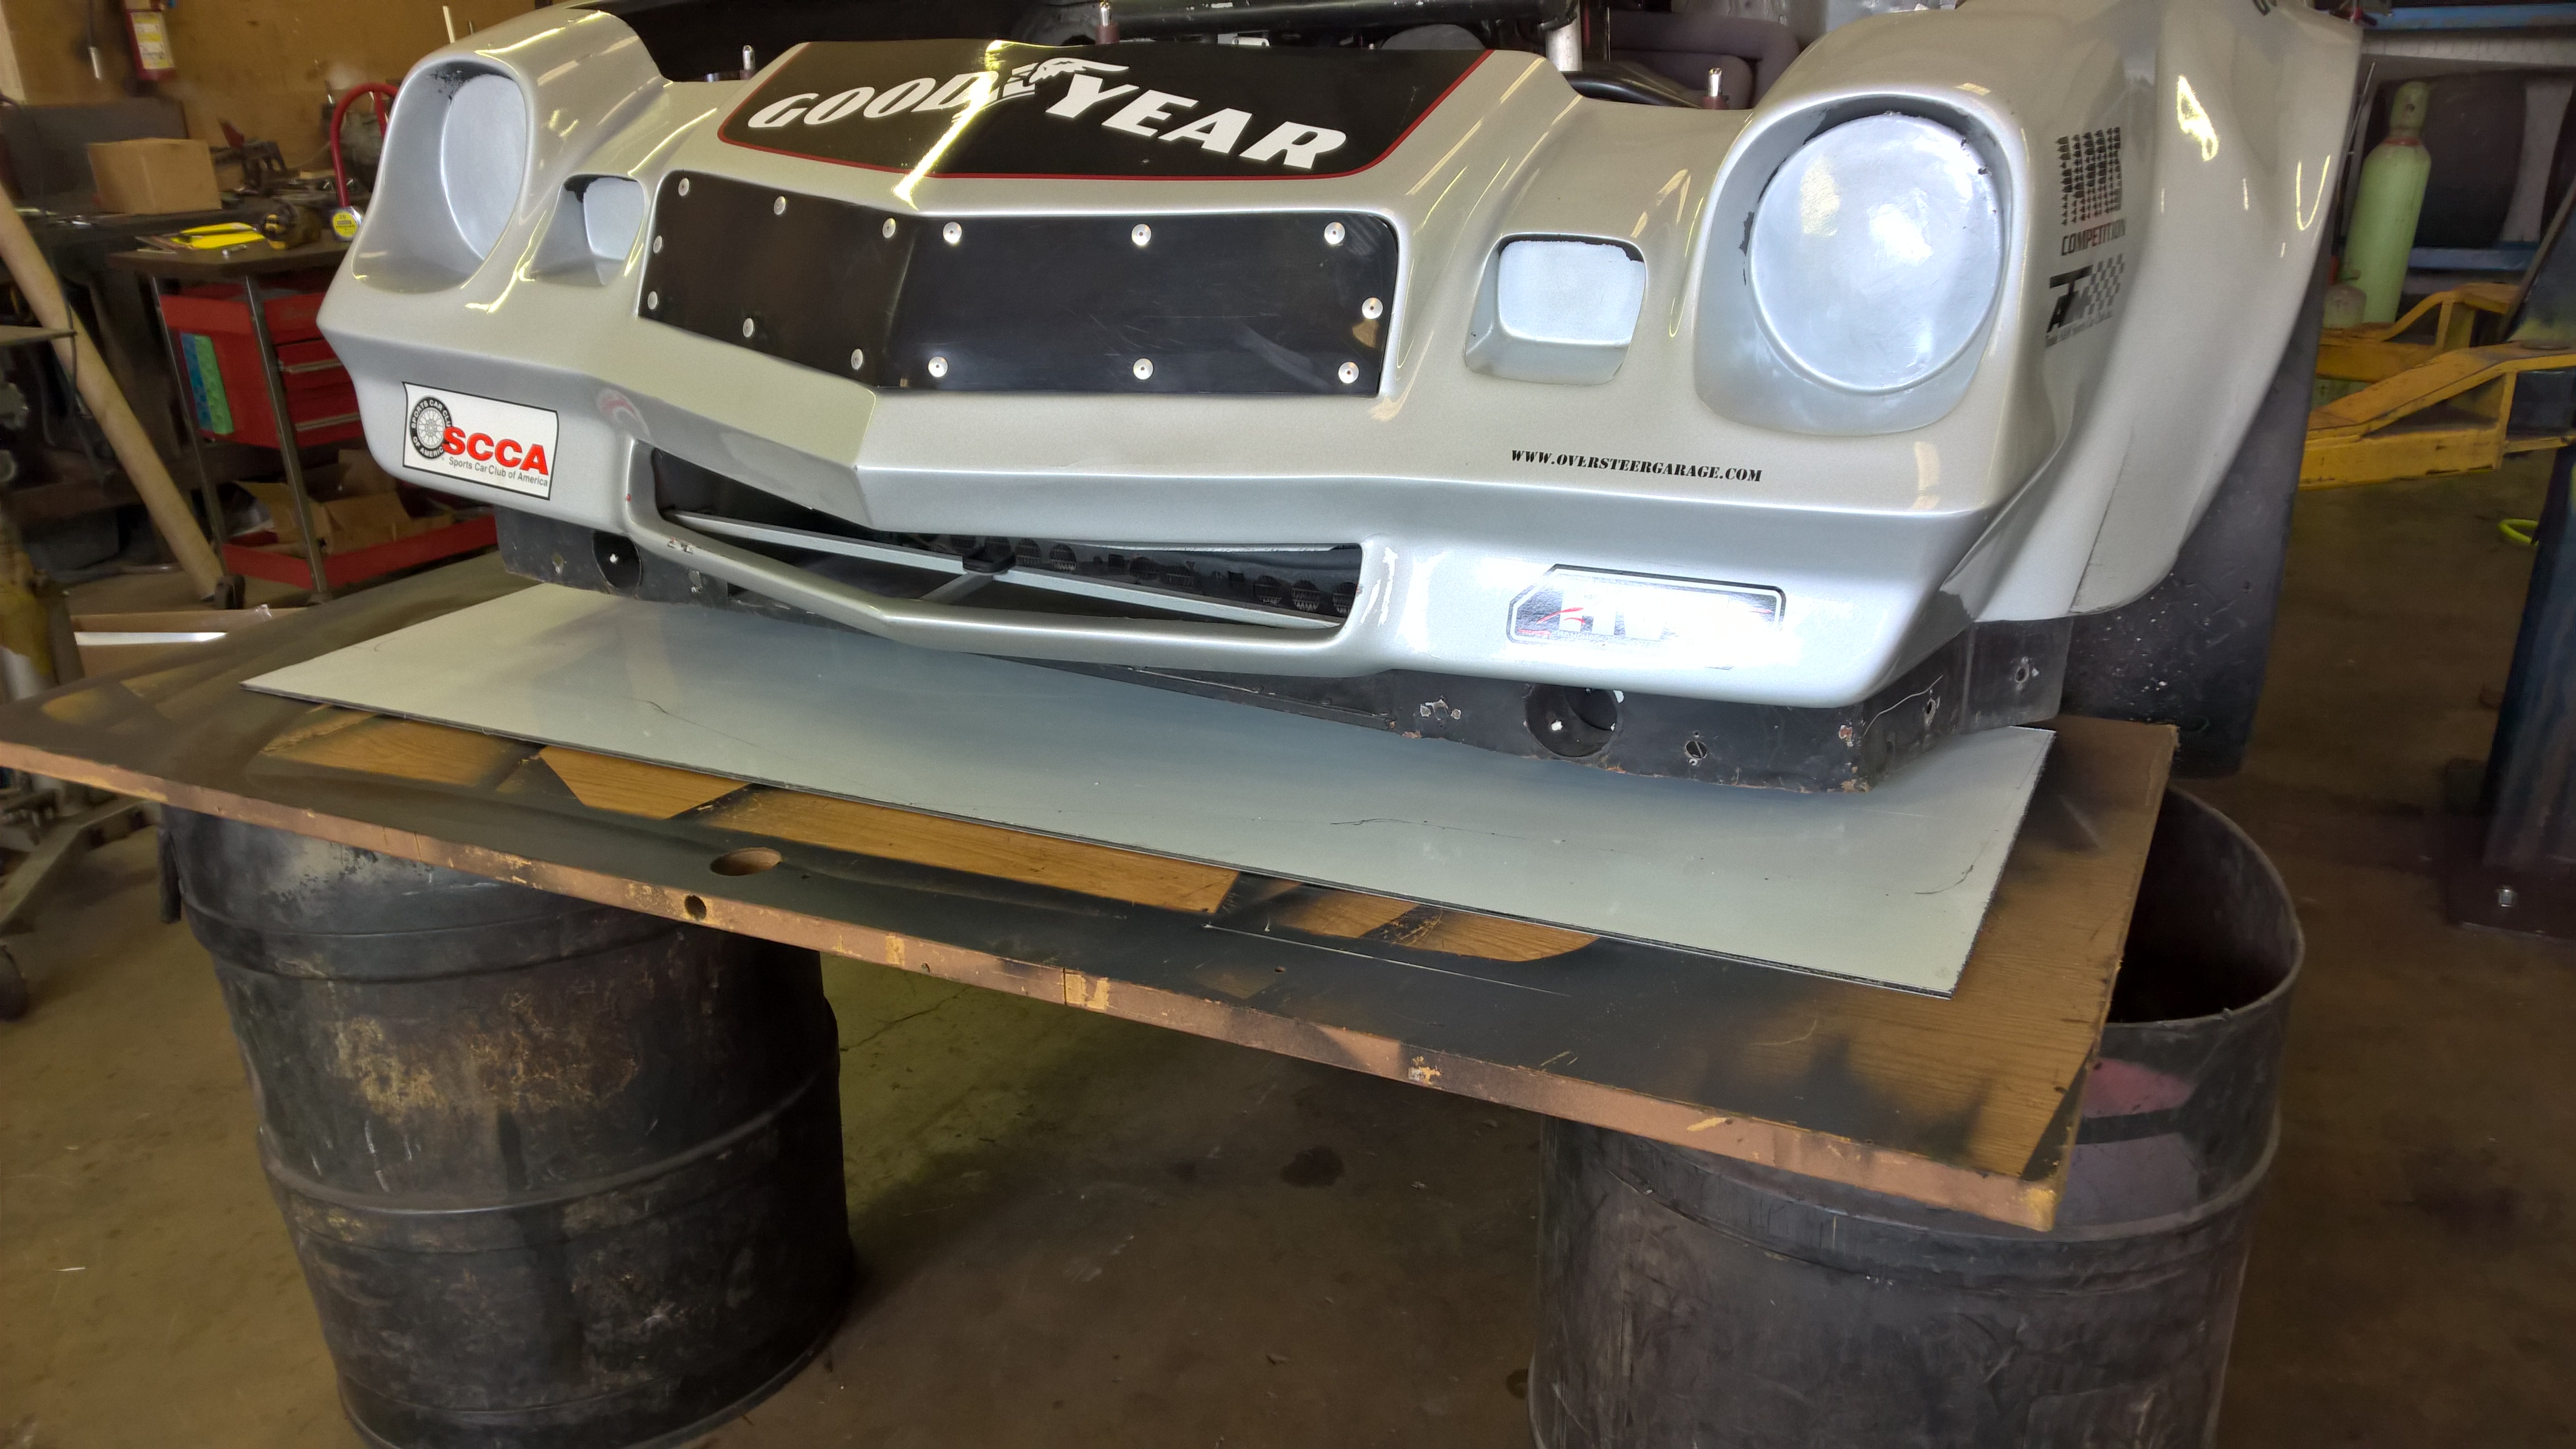
After cutting a section wide enough and deep enough for the car, I laid it down on table and then traced the shadow of the bumper on it. This wasn’t precise by any means, but it was close enough for our use!

A fine tooth jigsaw makes quick work of the Alumalite.
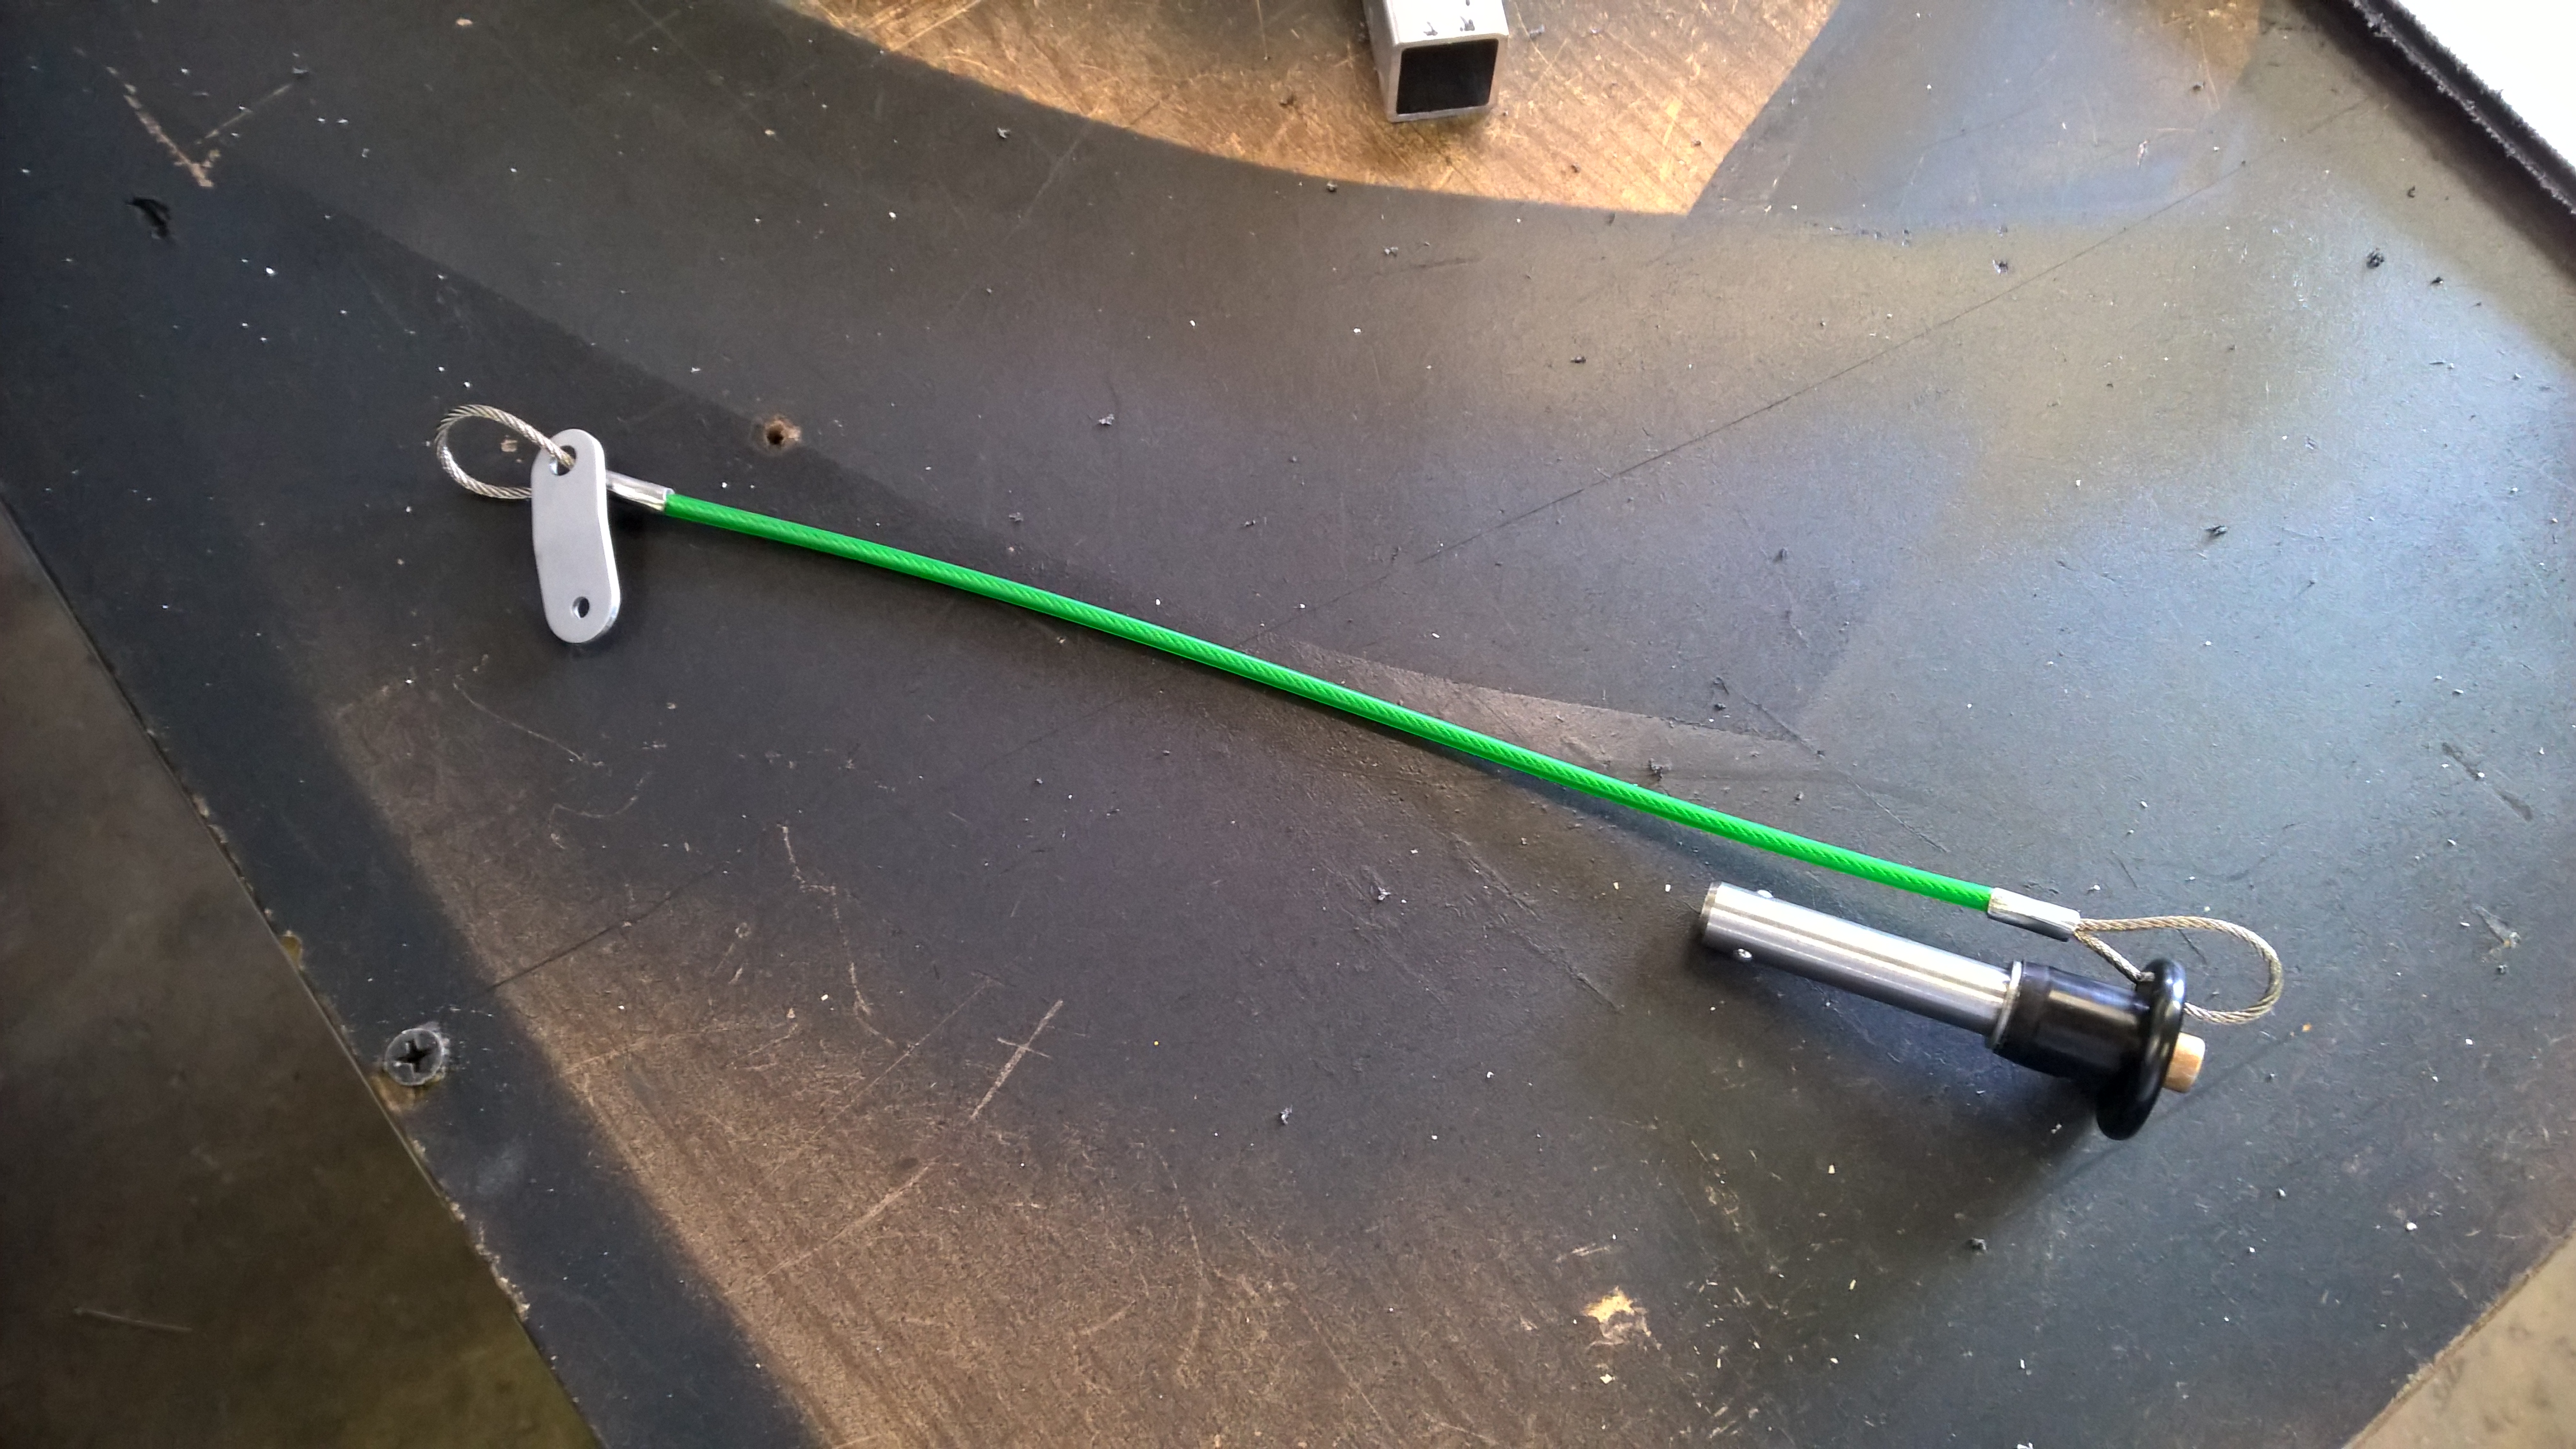
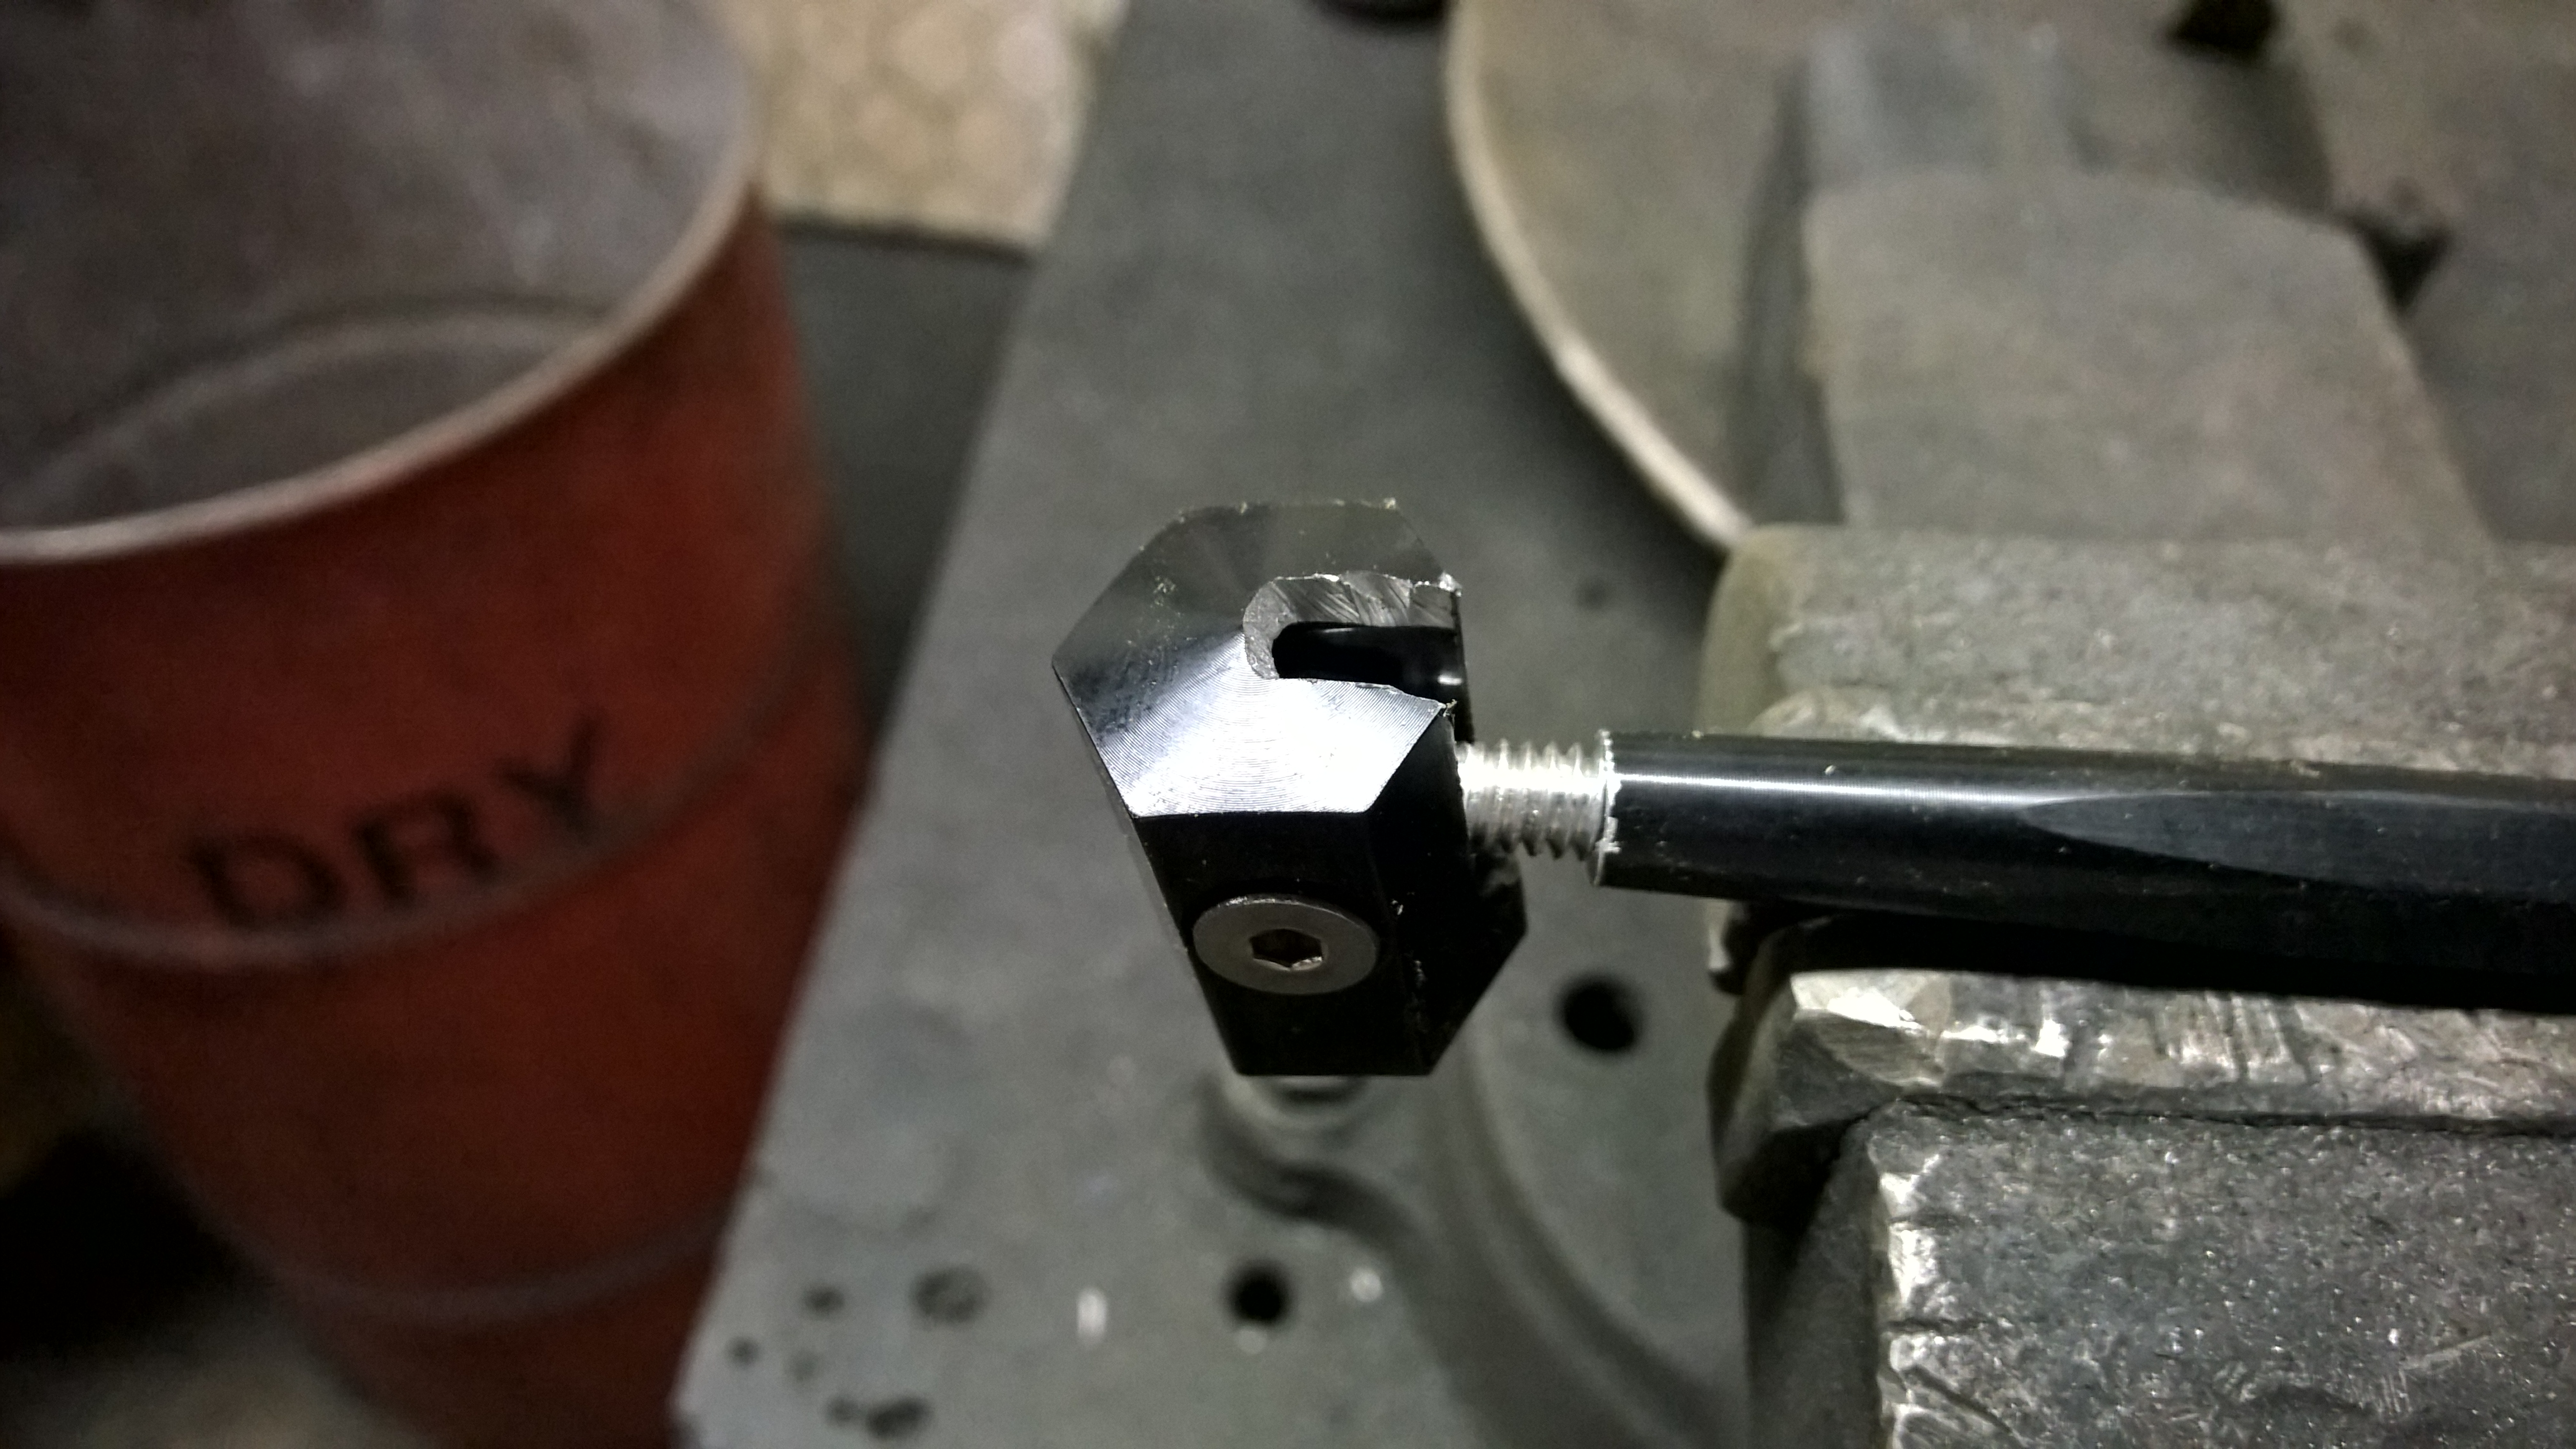
I struggled a long time trying to figure out a way to get the splitter on and off quickly. Whatever method we used had to be strong enough to hold it up, but we also didn’t want to have to spend a bunch of time bolting and unbolting it. I settled on these push-button quick release pins I got from McMasterCarr. They’re pricey ($25 each!), but seemed to be the solution I needed.
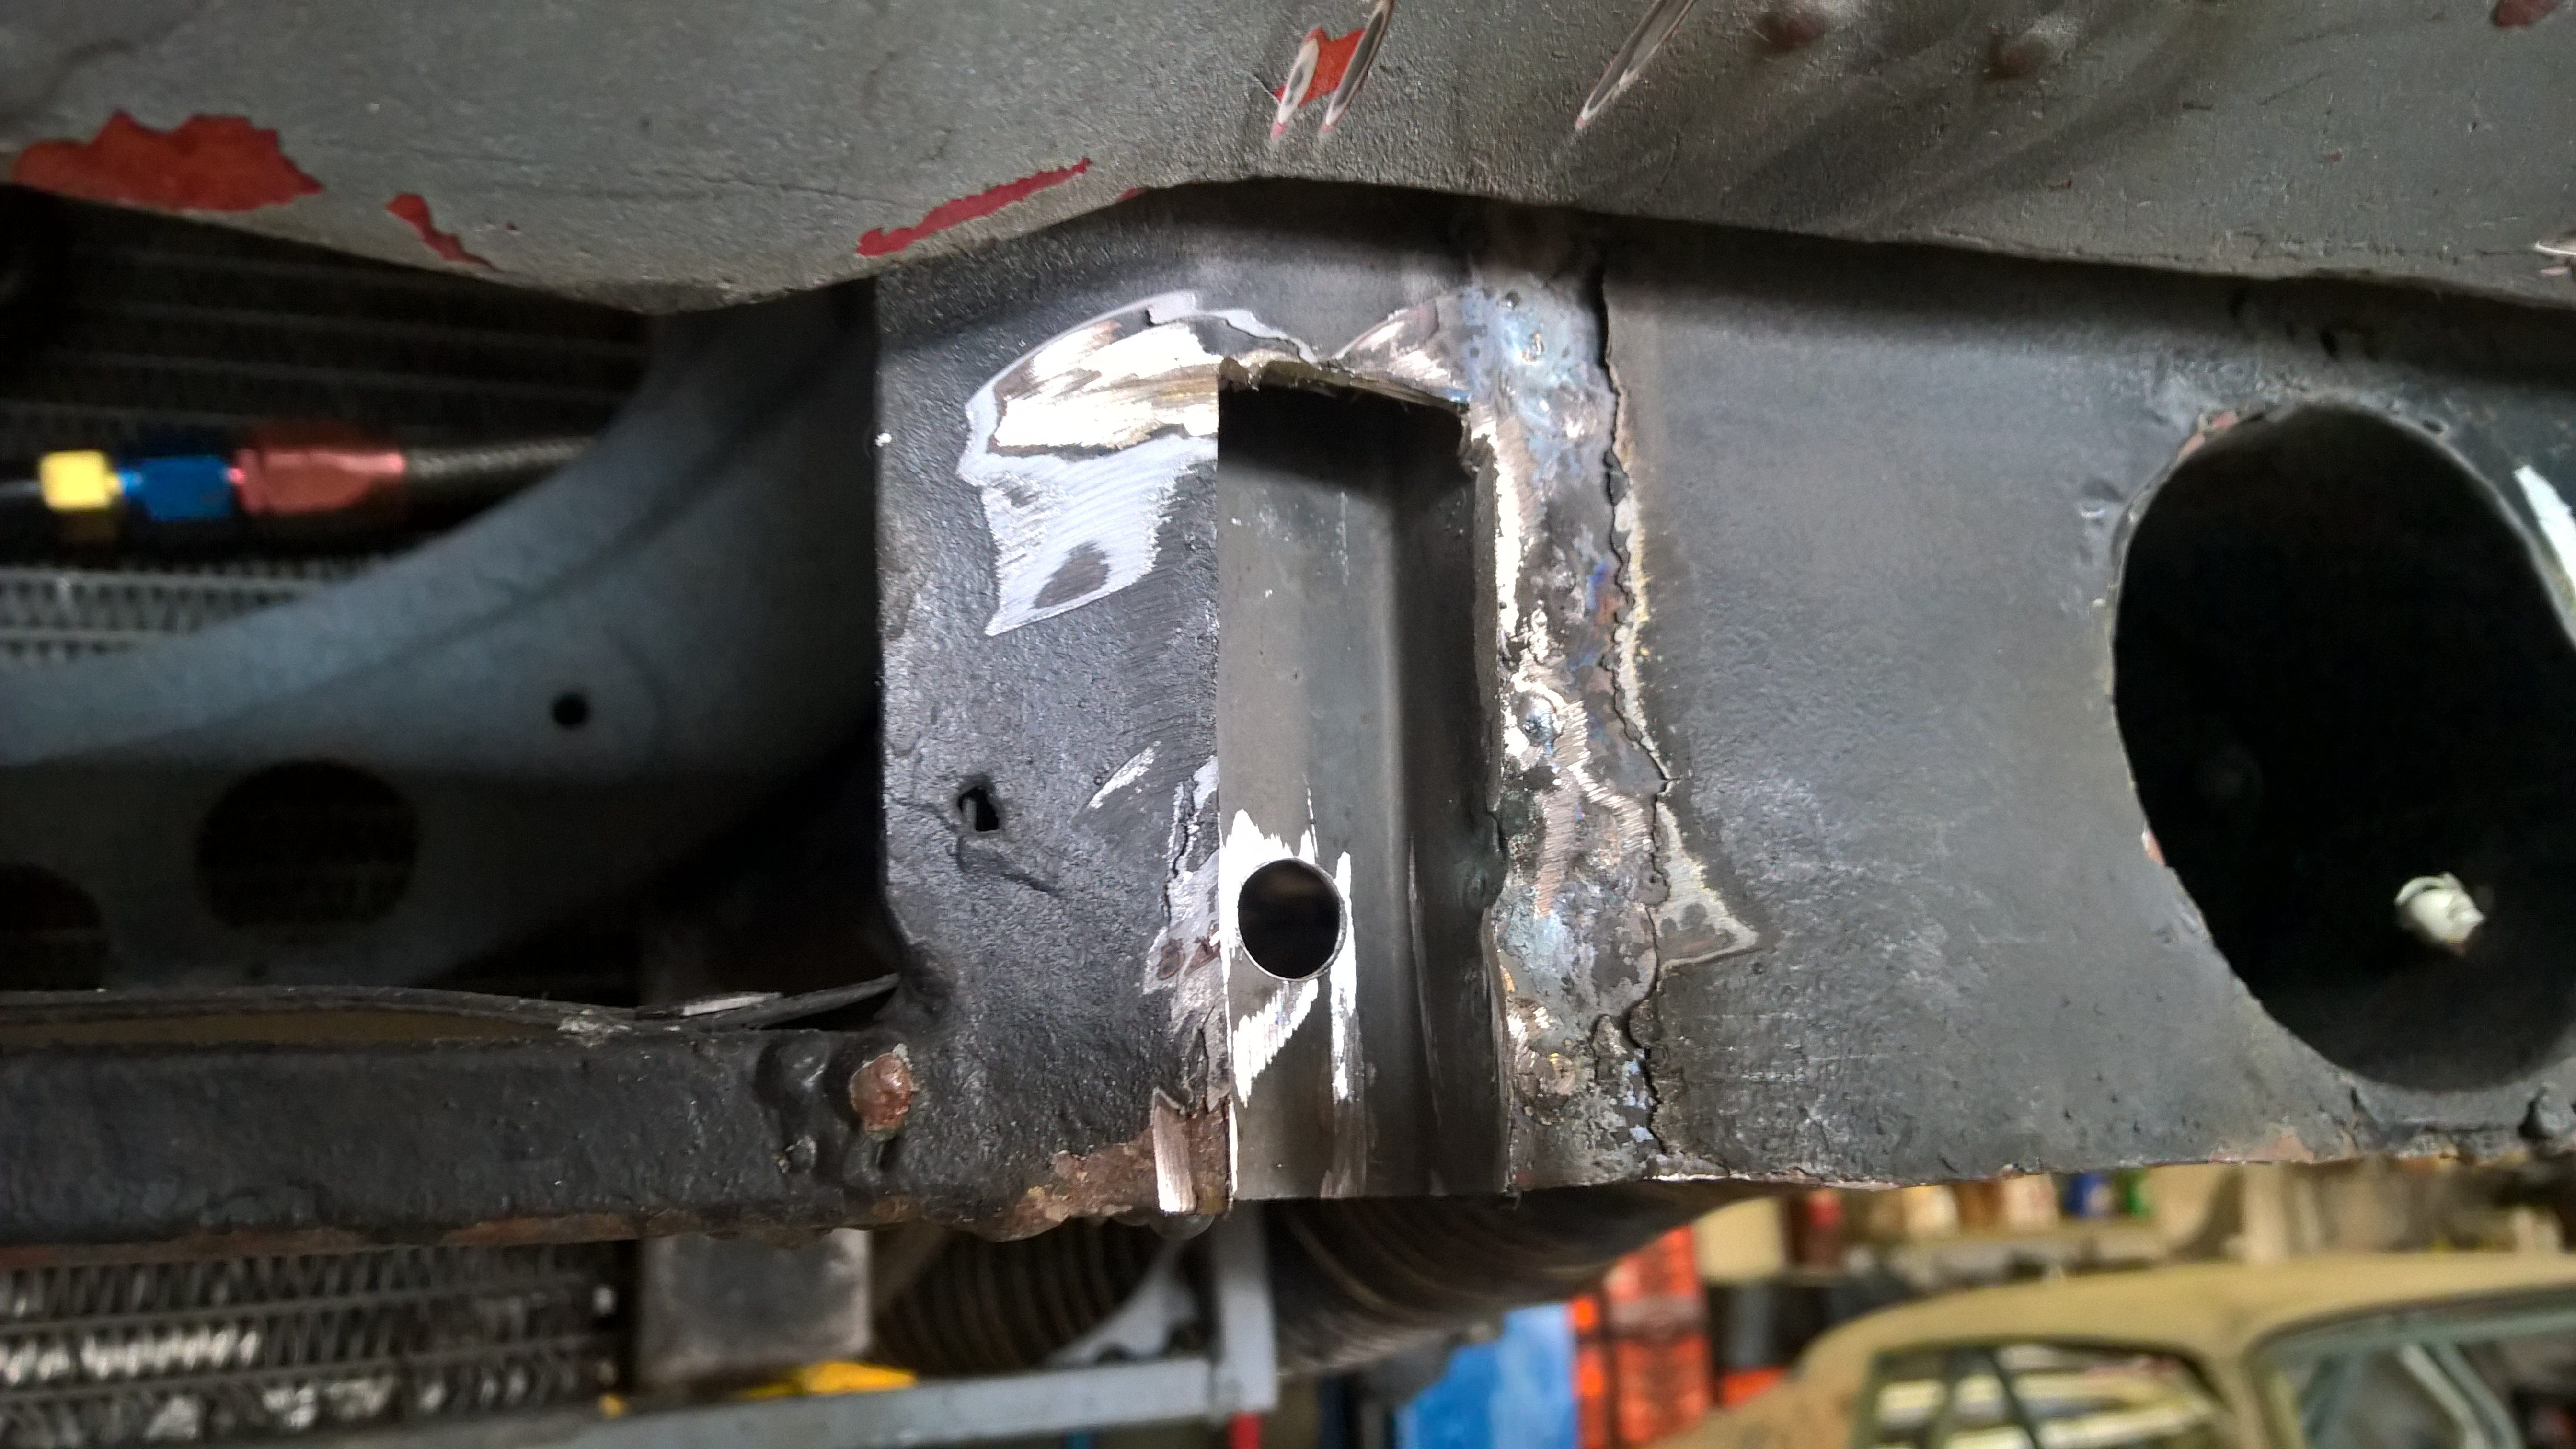
To mount the splitter to the body, I reused part of our existing air dam – basically a thin steel piece which is welded to the nose support structure. Into this, I inset 6 pieces of channel which I welded to the backside. These pieces would serve to capture the splitter supports.
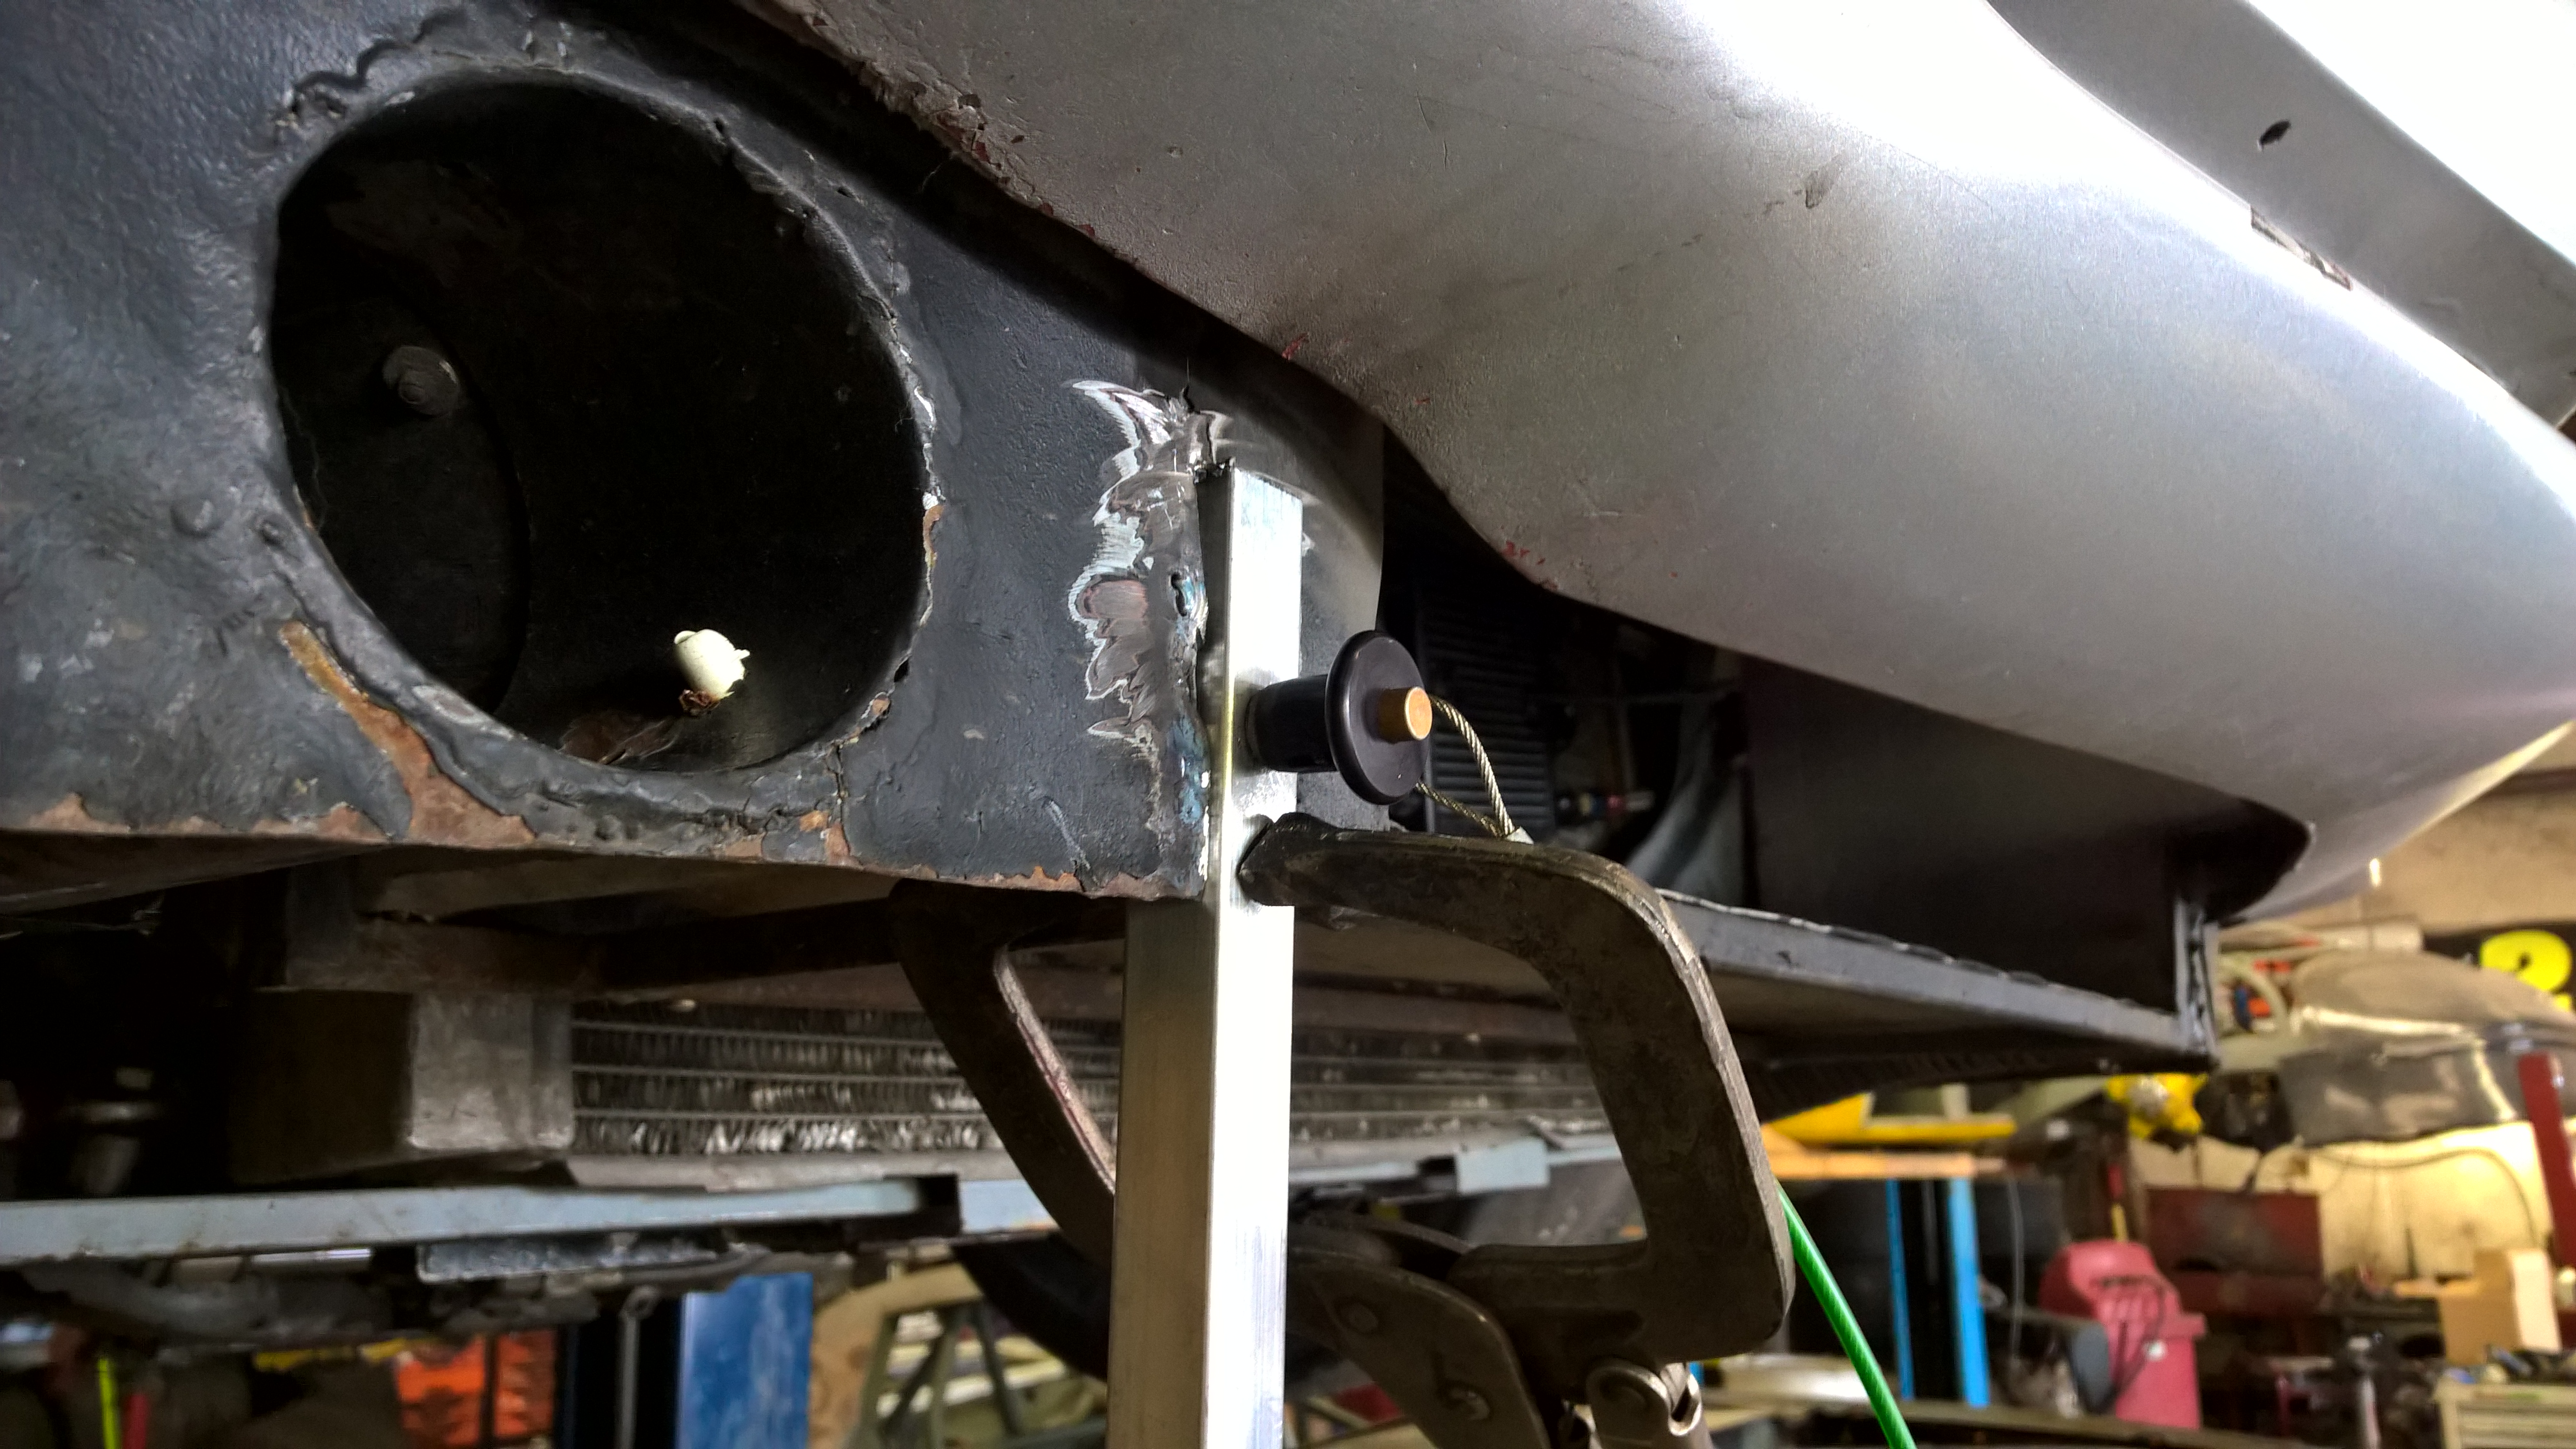
You can see here how this is intended to work. The plastic air dam isn’t visible in this picture, but it’ll be between the quick release pin and the aluminum support.
The next step was to mount the support rods to the splitter itself. To do this, my method of attachment was going to be rivets. At the splitter would be a piece of 1 1/2″ x 1″ aluminum angle which would be riveted to the Alumalite and then riveted to the aluminum supports. Riveting wasn’t the way I wanted to do it, but neither Todd nor I can weld aluminum, so that’s what we ended up doing.

I wanted the aluminum angle support to be one continuous piece for stiffness reasons. I notched the corners were I wanted to bend it and then put it in a vise to get a nice smooth bend.

After the angle was riveted to the Alumalite, it was riveted to the supports. I used normal clevis pins on the end pieces for a more positive engagement in addition to my desire for them not to stick out as much as the push buttons did.

Two more supports were added after the picture above at the corners to provide more support as well as to provide something for the air dam to wrap around. I used simple ABS plastic to wrap around the splitter frame and then riveted it to the angle and supports.
Everyone always tells you that the splitter has got to withstand LOTS OF DOWNFORCE. I knew this was largely nonsense for autocross speeds, there was no way at 70mph that I was going to need to support 200+ lbs hanging off the nose. Despite this, I did feel that some support was required in the center section. Not heeding Neil’s advise to use chain or cable to allow upward movement, I chose to use one of Long Acre’s spoiler support shafts which I modified to get a little more travel.
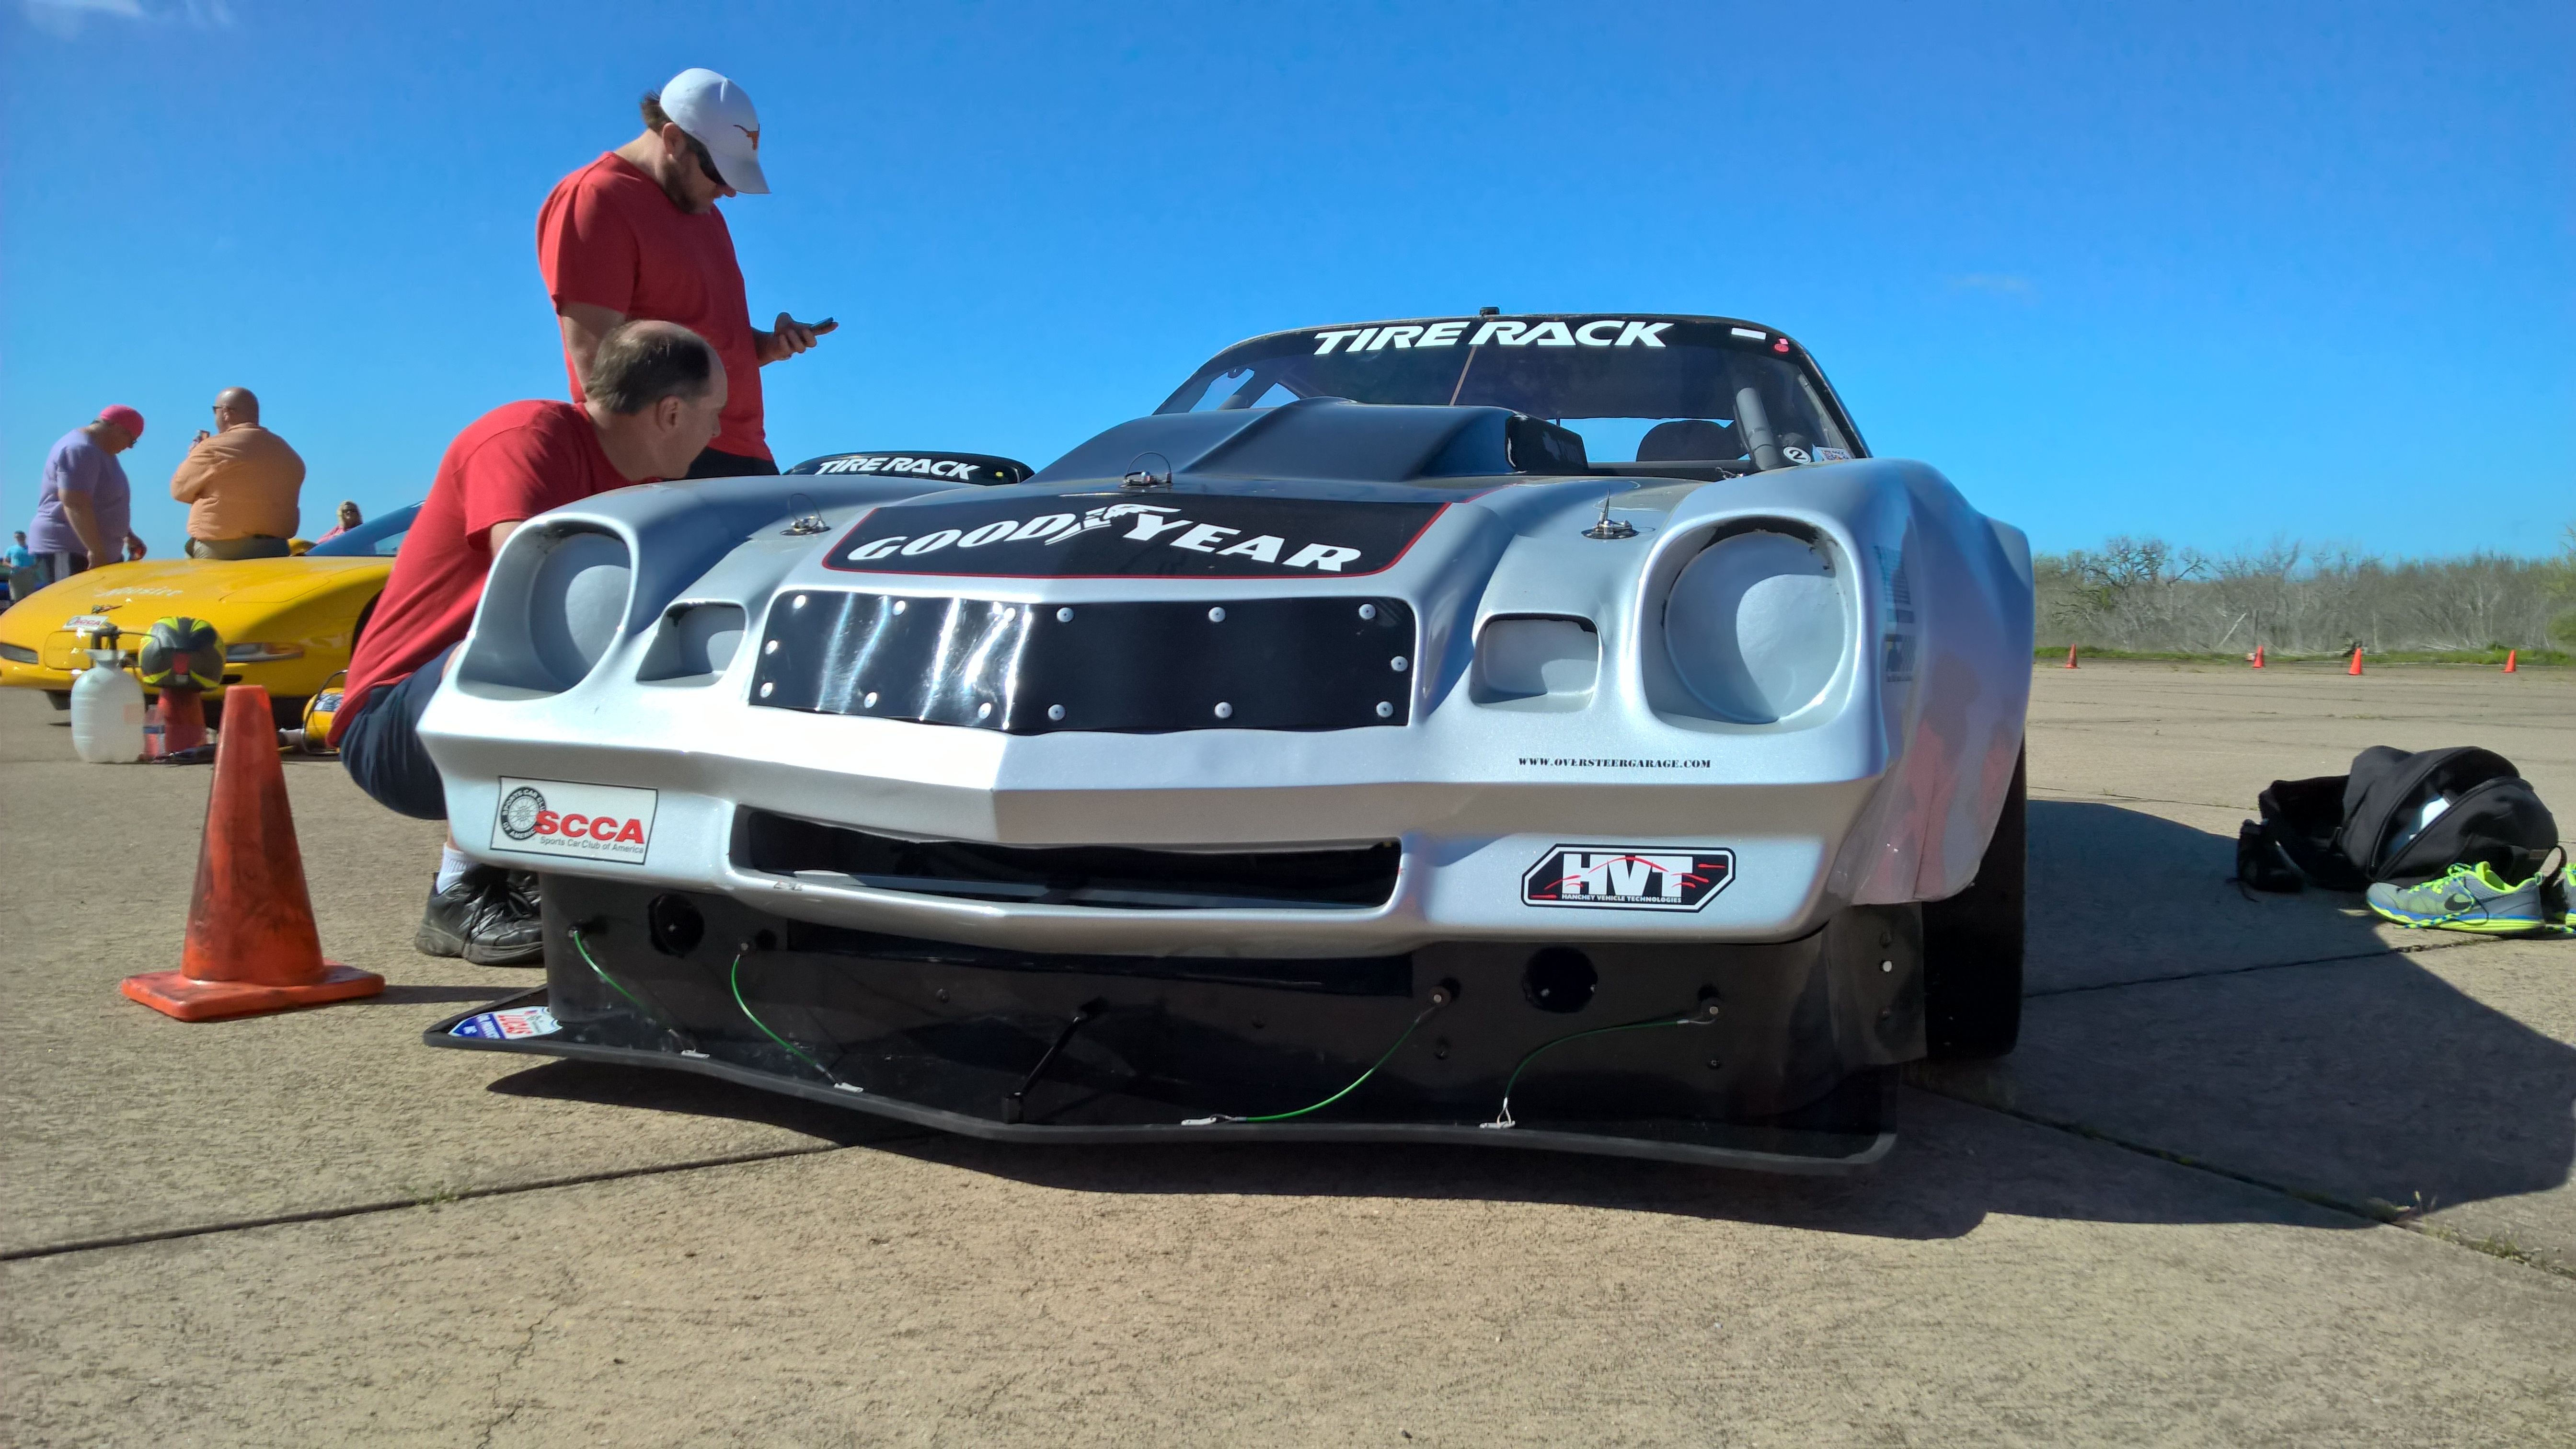
Race day! The splitter was all buttoned up and we were ready to race on brand-new Goodyear Radial Slicks. This was our first try with these tires and we were curious to see how they would do.
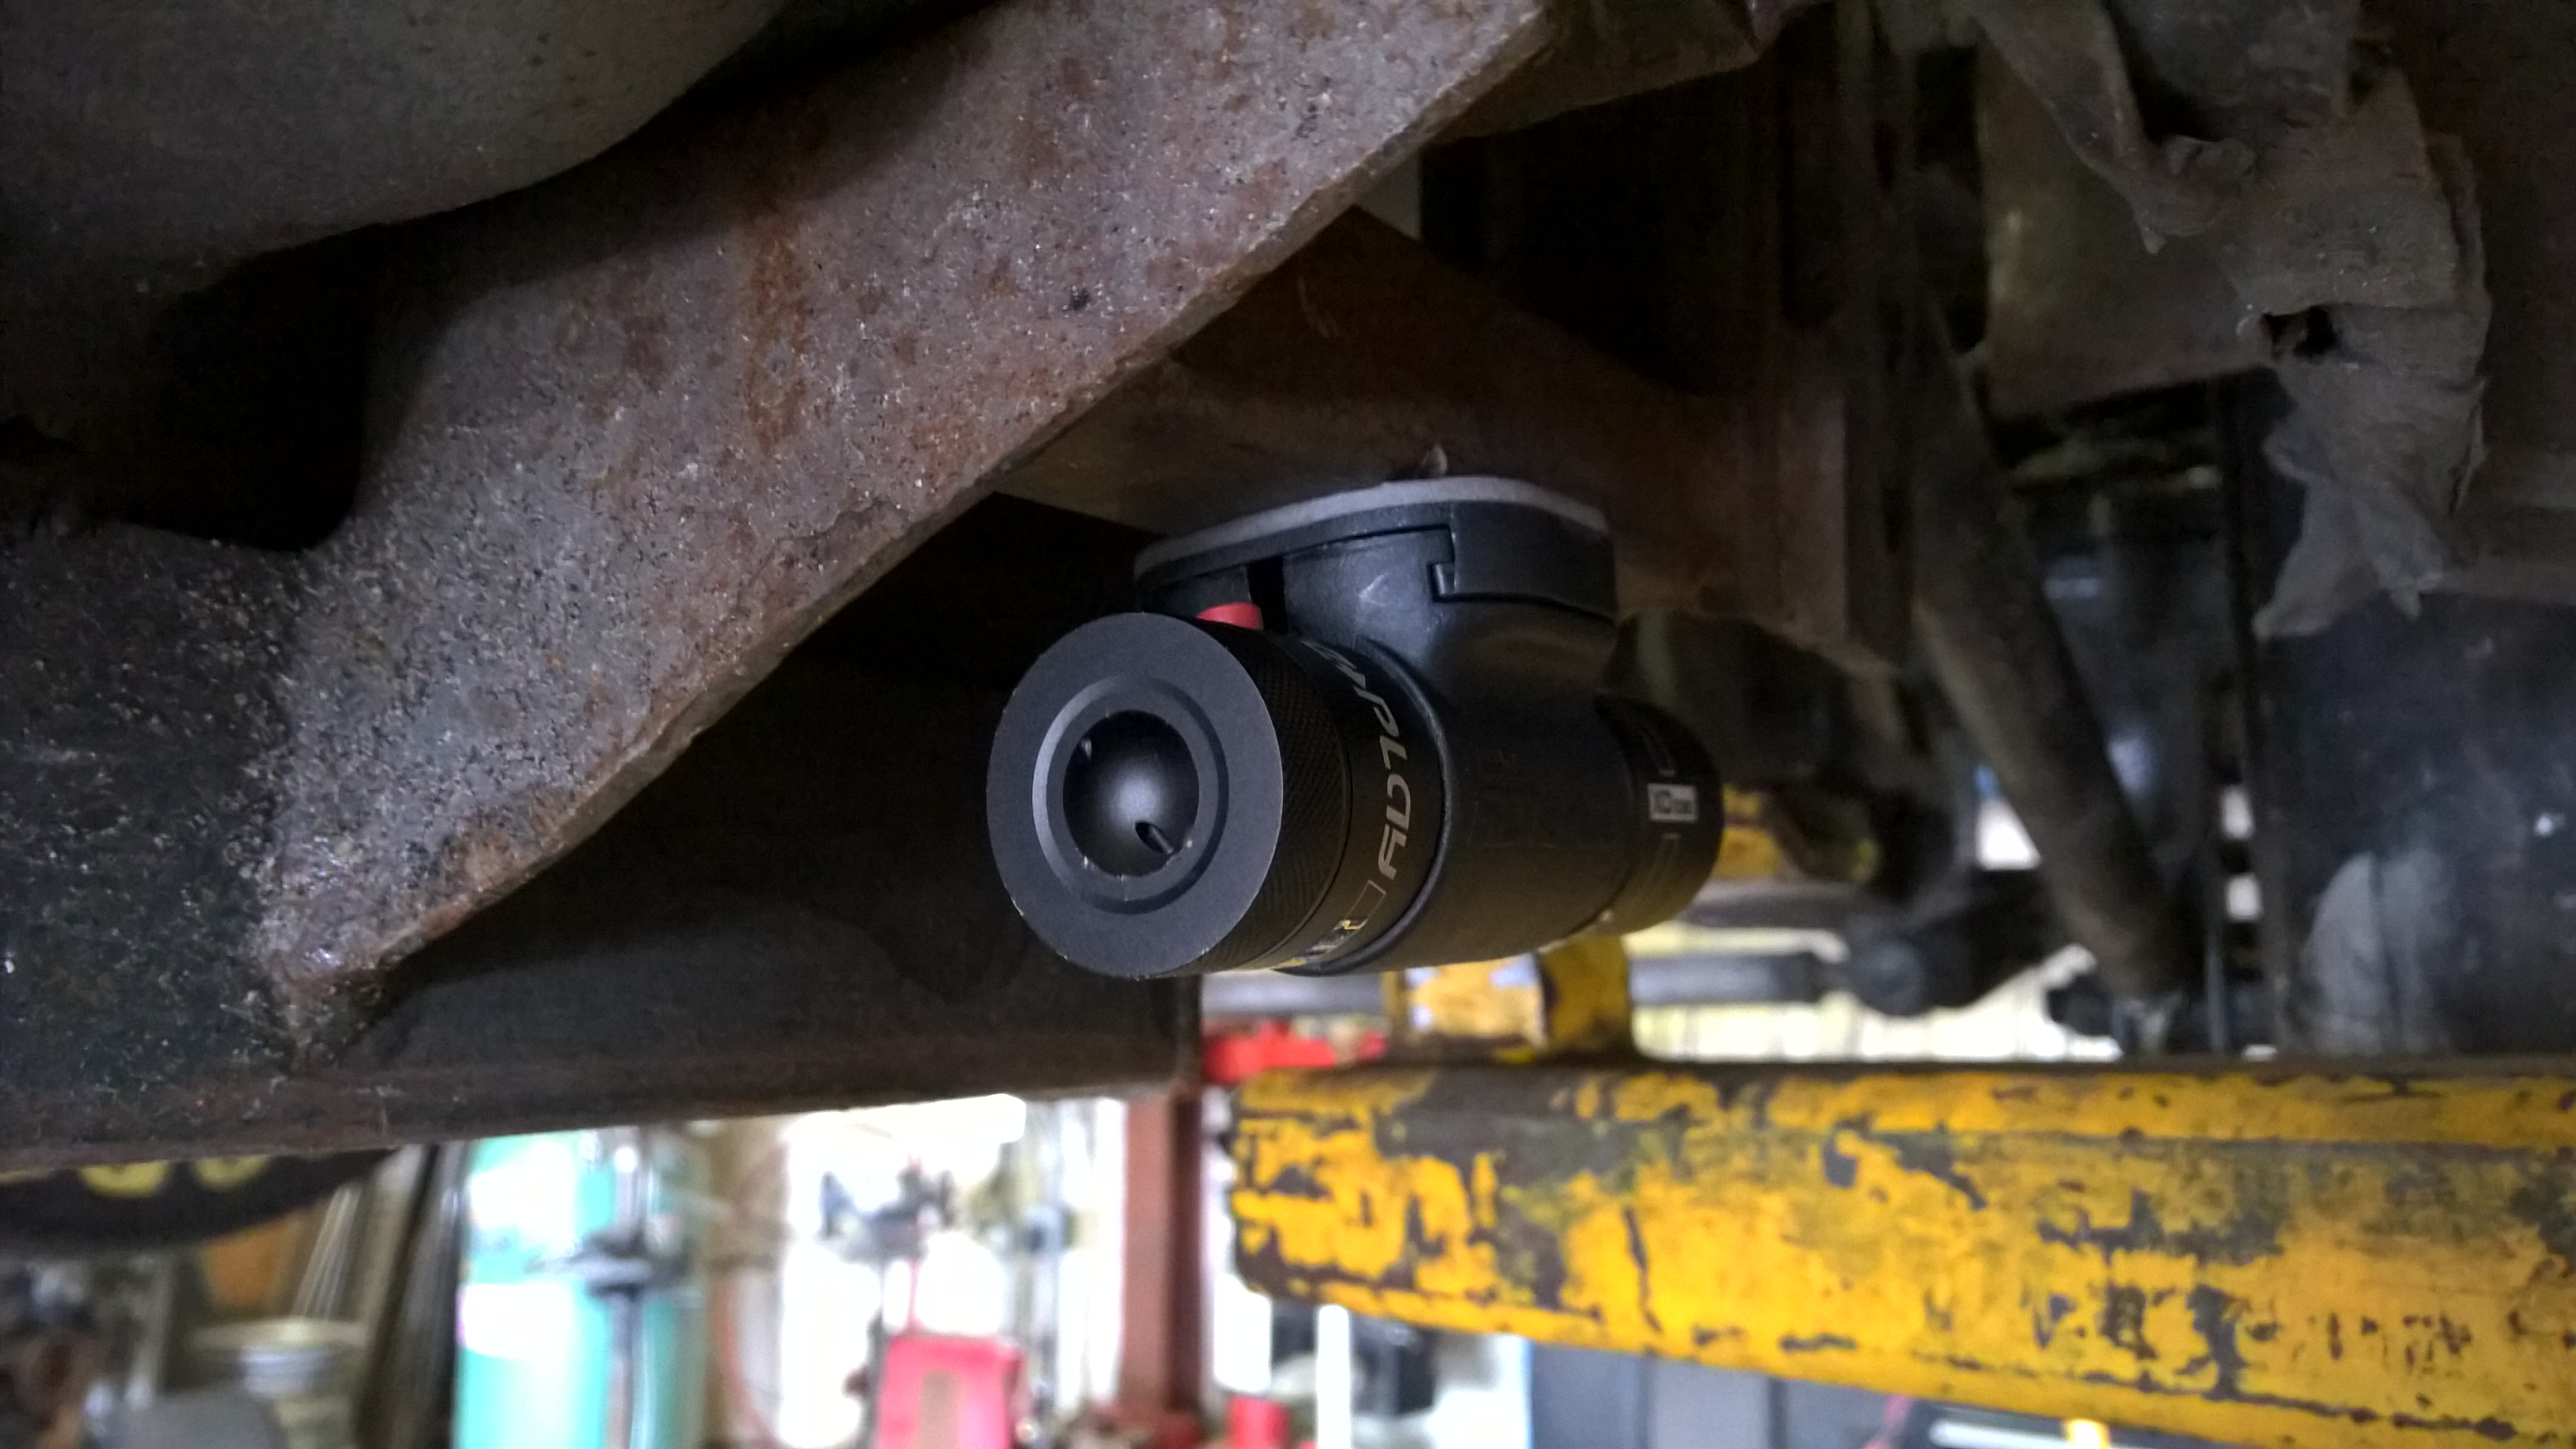
Knowing that the tires were flexible, we wanted to make see how much room we had between the tire and the trailing arm so that we could minimize the distance, but also not rub. To check this I setup my ReplayXD camera under the car to get some video!
We expected the tire to move, but not that much! Needless to say, we won’t be cutting down the spacers as much as we wanted to…
The car was HOOKED UP! After a swaybar adjustment on the first run it instantly felt better than it had on the old bias ply tires, and that’s saying a lot! Todd was flying, setting almost the fastest raw time of the day and ended up 2nd in PAX!
I didn’t get quite as quick a handle on the car as he did, but still ended up 2nd in class and 11th in PAX against some stiff competition from Spokes. I also had a nice little spin which you’ll see at the end of the video…

So that whole “lessons learned” thing about not listening to Neil? The splitter survived just fine despite contact with the ground numerous times. The solid support for the center through caused the mounting bolt to twist and deform the Alumalite in the middle. It’s not the end of the world and we’ll probably just leave it that way, but a good example of list to those who know!
Check back in a few weeks for National Tour coverage!
 Red Line Oil

That is an incredible amount of tire movement! Were they cold / low pressure?
Allen, they’re running fairly low pressure, which is what Goodyear recommends. We were pretty surprised, especially compared to the Hoosiers we tried. Haven’t tried a sticker set of the Hoosiers, but we really liked these!