
Dim Light at the End of the Tunnel…
I think it’s the beginning of the end of a long project. Or at least the downward slope!

Had two full weekends of work with Todd up in College Station. We’ve got most of the front suspension bits worked out, the exhaust is checking out pretty good, and while nowhere near finished, the seat relocation and dash rebuild has started.
But I’ll back up a bit…

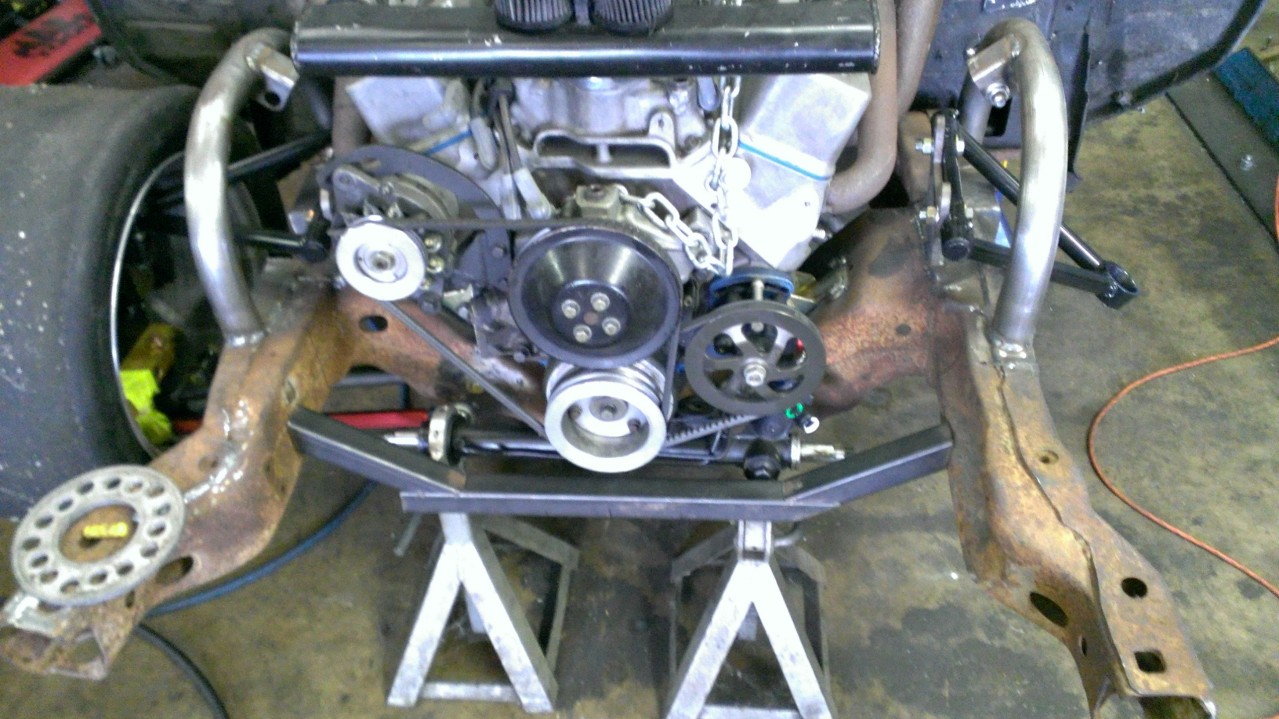
Two weeks ago I brought the subframe up to Todd for final weldout and installation into the car. Todd set to work and got us to the point of putting the engine back in for trying to resolve our header fitment issue. First up was cutting an ear off the control arm bracket.

The headers donated a tube to this exercise. Plan A was to relocate this tube and make it clear. This would have worked, but the clearance in the passenger footwell was awful. Eric Bradley came to our rescue and let us borrow a set of headers I had considered – Schoenfeld 180-2 headers. These headers make an abrupt 90 degree turn and will let us keep a passenger seat and still run the exhaust out the door!
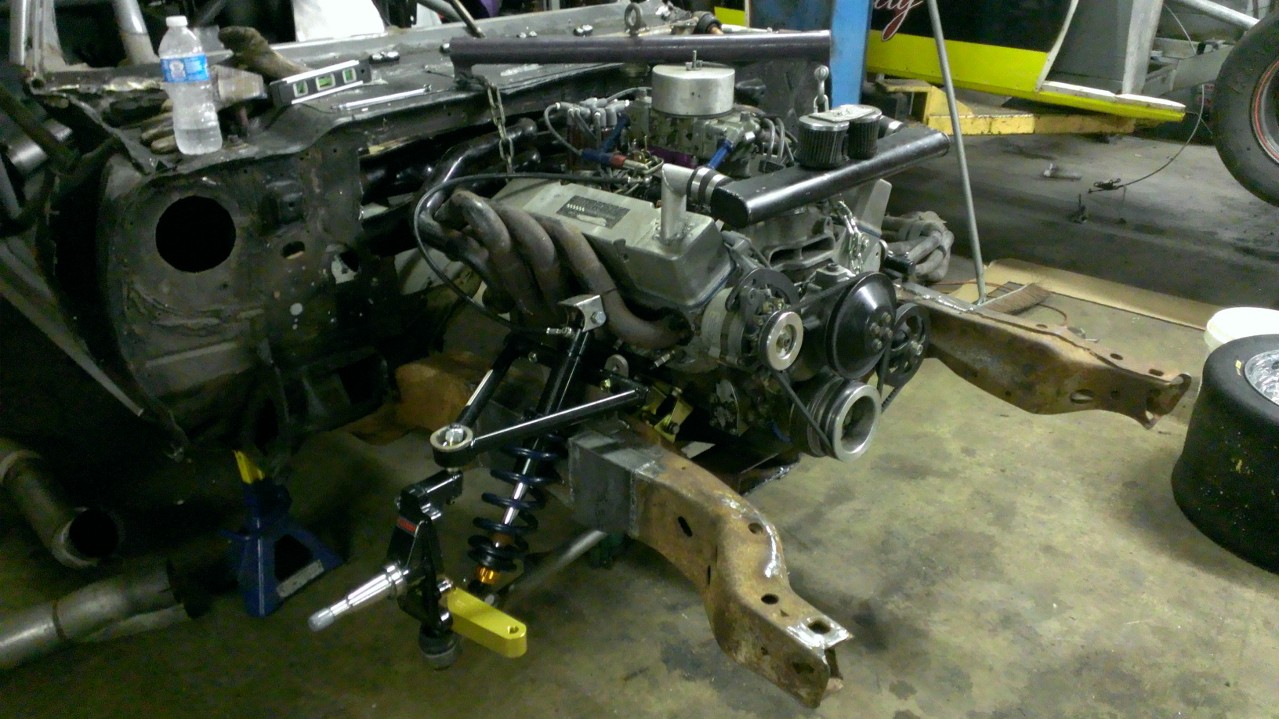
In the meantime, we got the shock support hoops fitted and welded up.
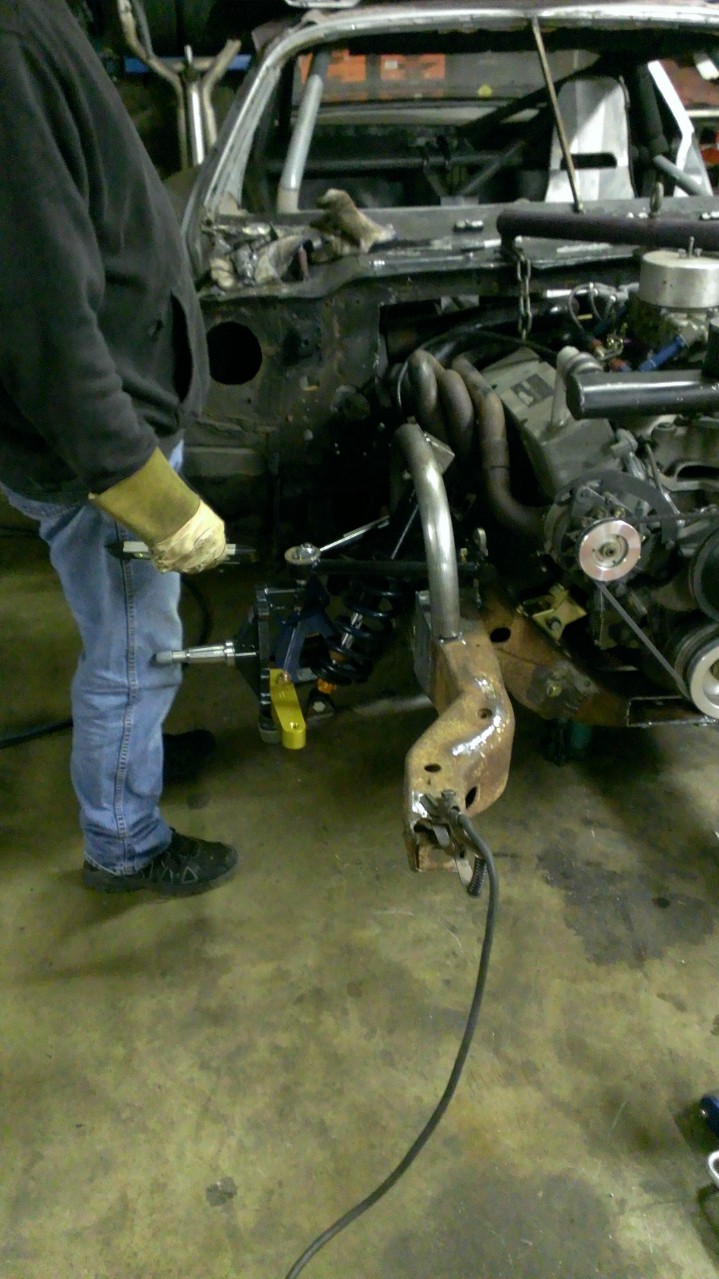
Coming together slowly.

For additional caliper clearance I got the spindles machined down to set the caliper further in. Huge thanks to Ryan Peeples and Brian Auer at G&H Diversified for the machining help!
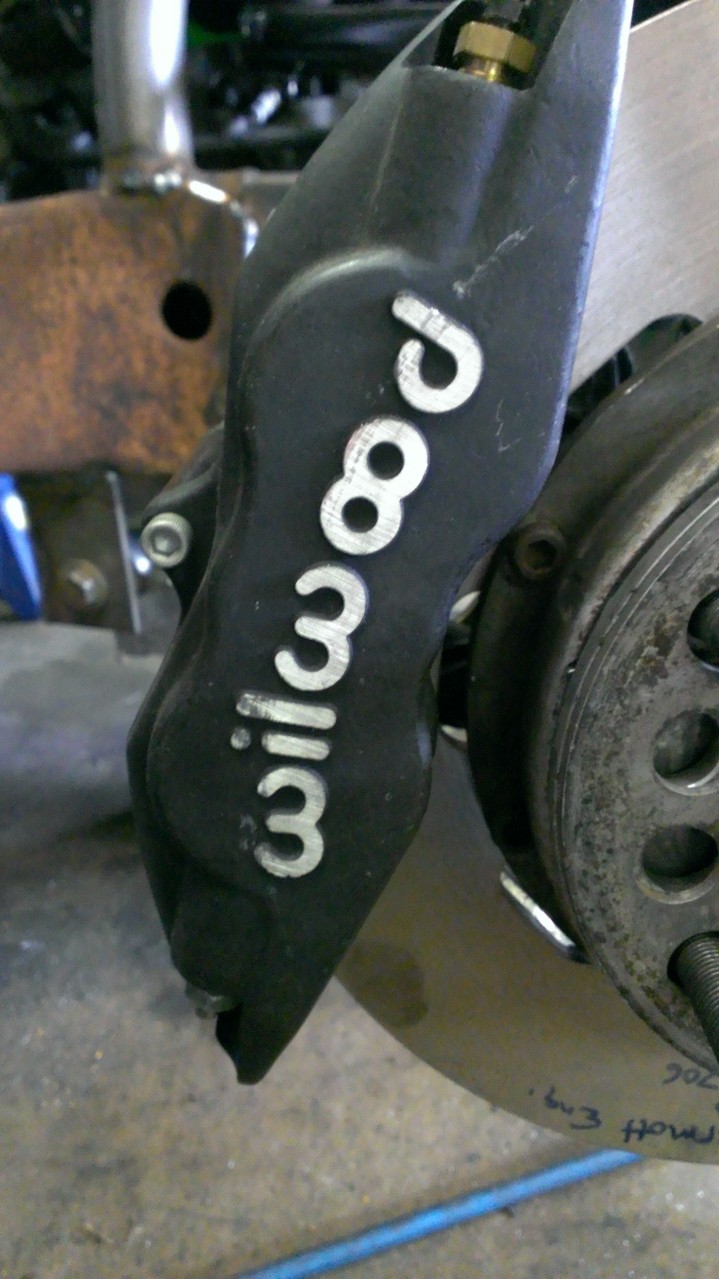
Turns out the clearancing wasn’t quite enough, but a small wheel spacer takes care of that issue.

Following that I mocked up the steering arm, bumpsteer spacers, and tierods all in the wheel (check the fancy racer tape…) to check for clearance. I’ll need to run a slightly shorter bumpsteer spacer to avoid hitting the inside of the wheel, but can compensate by raising the rack a little. Unfortunately due to the imperfection of spun racing wheels, the steering arm rubbed a few spots inside the rim half!
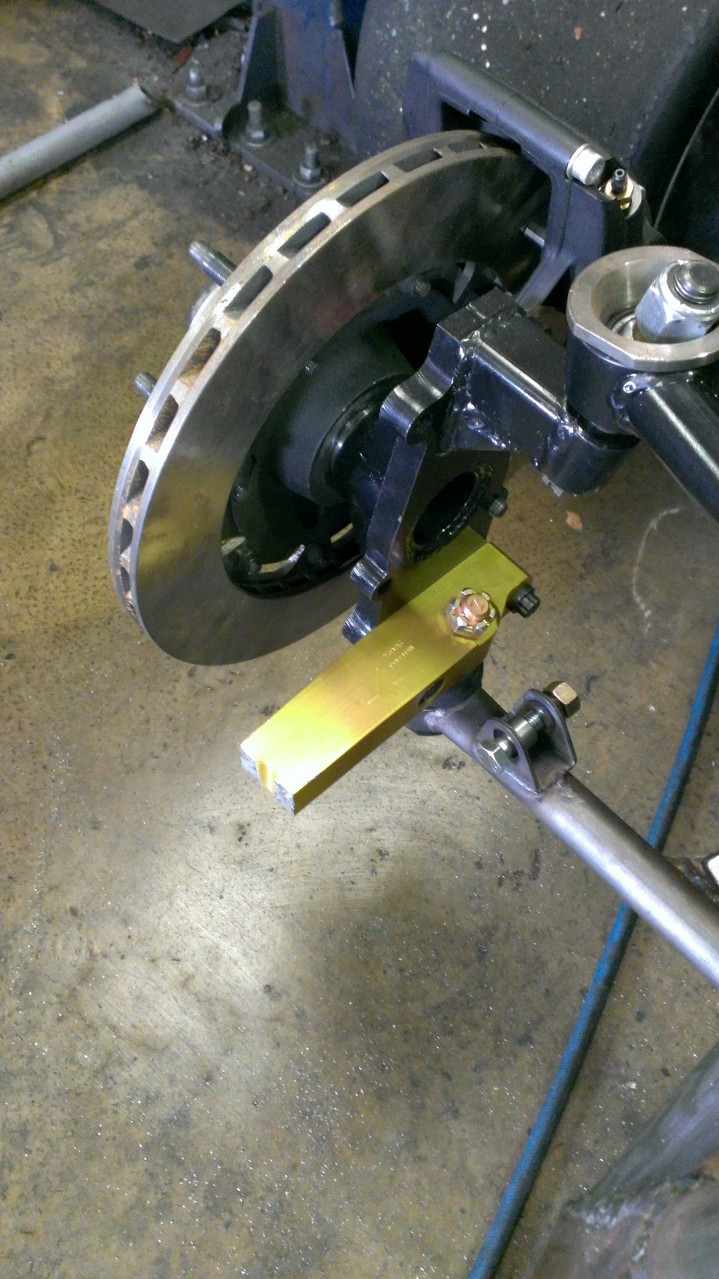
A sawzall make quick work of that… Since the new tierod pickup point is much closer to the balljoint, this won’t be an issue. I’ll get the end cleaned up at a machine shop down the road.

We also put in a lot of work on the steering rack. Here you can see the lightweight rod end with aluminum nuts for the tierods!
The steering rack and bracket are mocked up here. The steering will utilize a linkage similar to the one that Flaming River uses for their 70-81 rack kit. This puts the rack further forward, but luckily it is so light compared to the steering box that it’s still an improvement in weight on the nose.

One end of the rack gets mounted with this aluminum bracket that my father in-law made for me. Big thanks to Roy Krubsack for this!
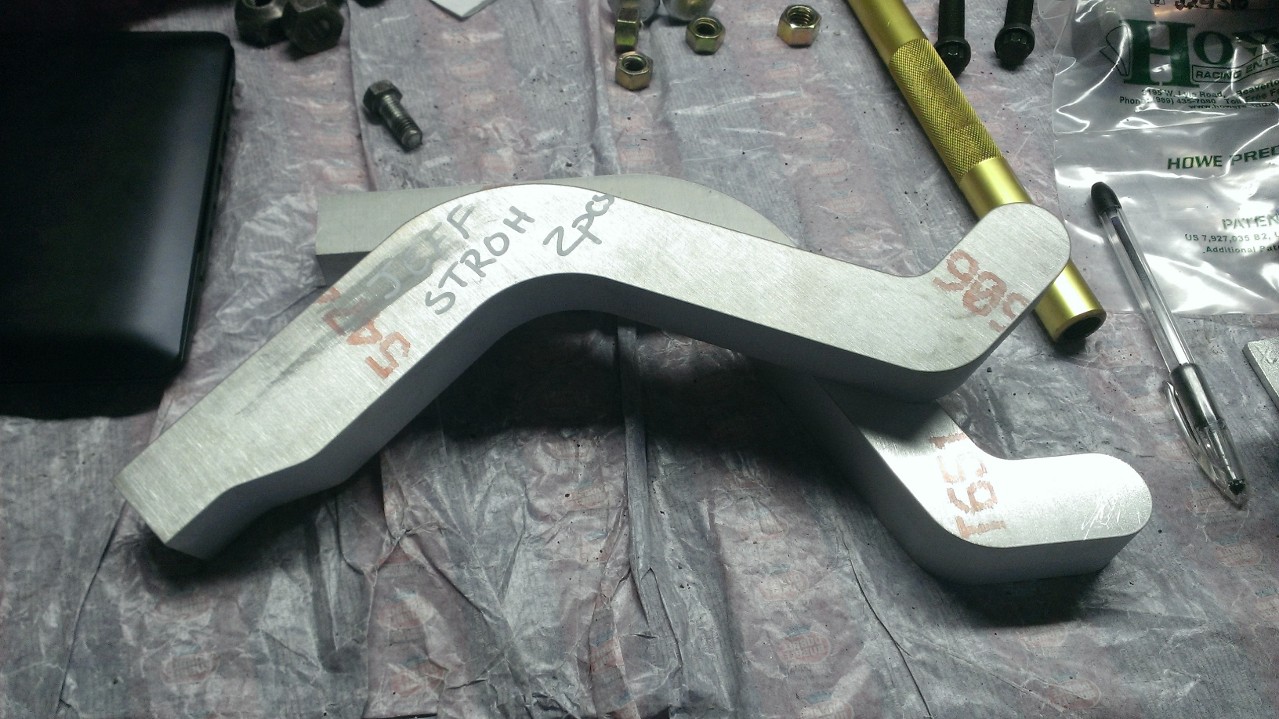
My 3D modeling paid off in another way, saving me some money, but not before my ignorance cost me quite a bit! If you’ll recall from a few posts ago I had planned on getting new steering arms made to move the pickup point to the inboard side of the wheel. Though my 3D model showed I was getting “anti-Ackerman”, which isn’t desirable, I told myself I just had to find the right rack position and it’d work out. Turns out I was very wrong… The pickup point for the tierod on the spindle MUST be at least inline with the lower balljoint fore/aft otherwise it won’t work! So $200 down the drain, but now I have some really cool waterjet cut paperweights…
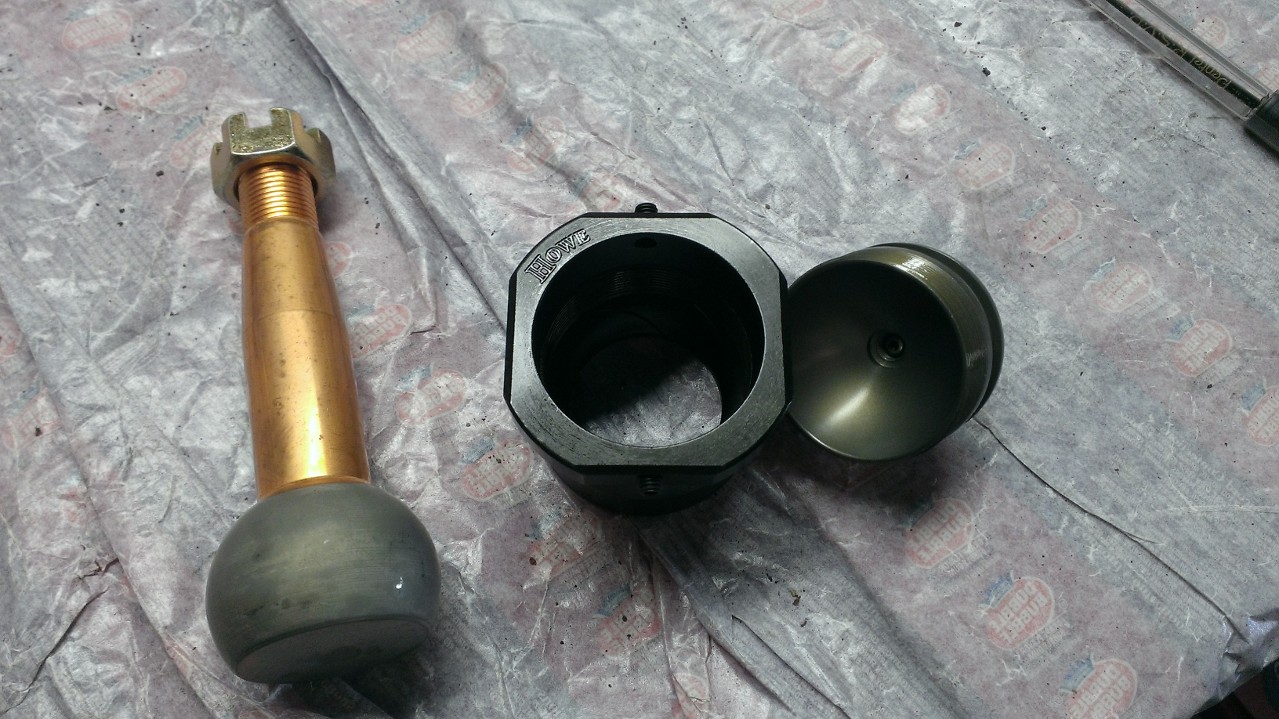
Another cool part I didn’t post about earlier is my new lower balljoints. Since the monoball lowers ran out of the travel I switched to a set of Howe units. These are slick, rebuildable, and I can change the shaft/ball for about $30 if I ever want to change the roll center. Highly recommended!

We also did some work on getting the pedals and the seat in the right position. Todd did a great job with the pedal support, unfortunately they were too close to the driver… Oh well, back to the drawing board on that one.
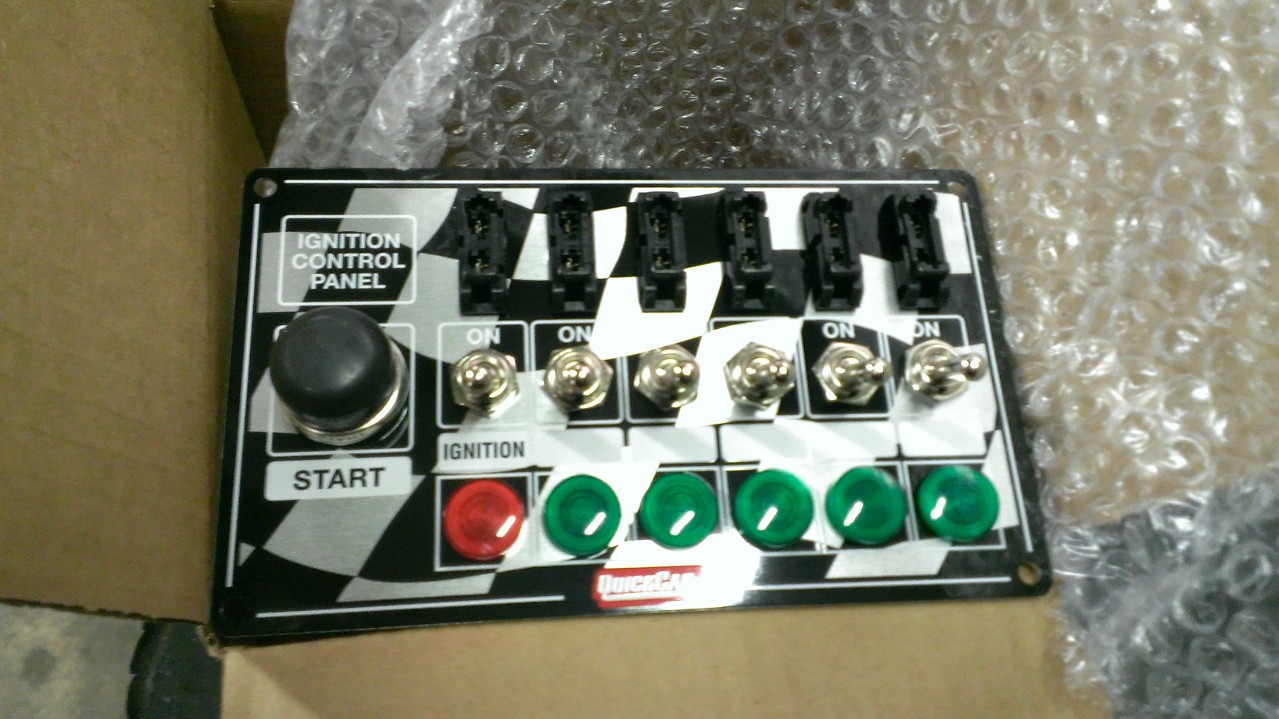
New switch panel for the dash came in. This one is from Quickcar and it’s got integral fuses and lights. It’s is a REALLY nice piece and worth every penny.

Last bit of the work this weekend was getting the new Speedway Engineering swaybar installed. I had hoped to mount lower in the chassis, but with the steering rack it wasn’t possible. The steering arms I bought were steel and REALLY heavy. They’re getting shipped back this week and getting replaced with aluminum ones.
That’s enough updates for now. Our target is still to be on the ground and racing in February, going to be a race against the clock getting there!
 Red Line Oil

Looking good Jeff! What heads are you using? They look similar to my 2.06 Brownfields with
Those angle plugs..wish I was in there with you!!
Thanks Rick! They are AFR, but we are considering Brodix in the future. Still got a little to go, but getting closer!